right ,
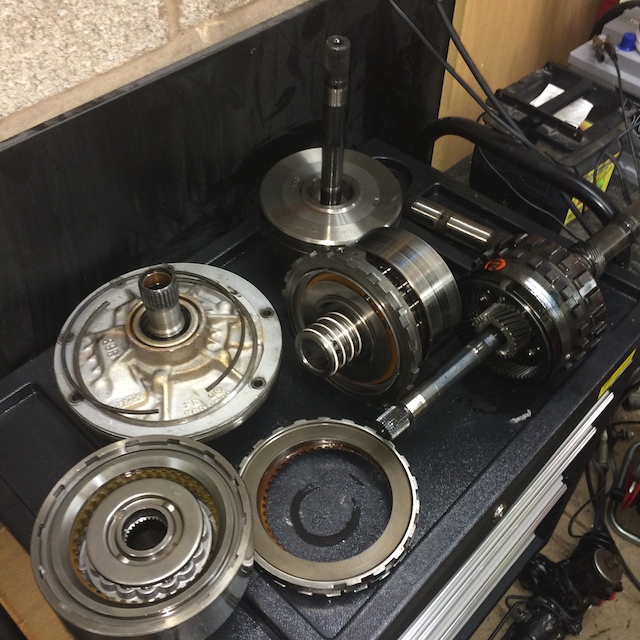
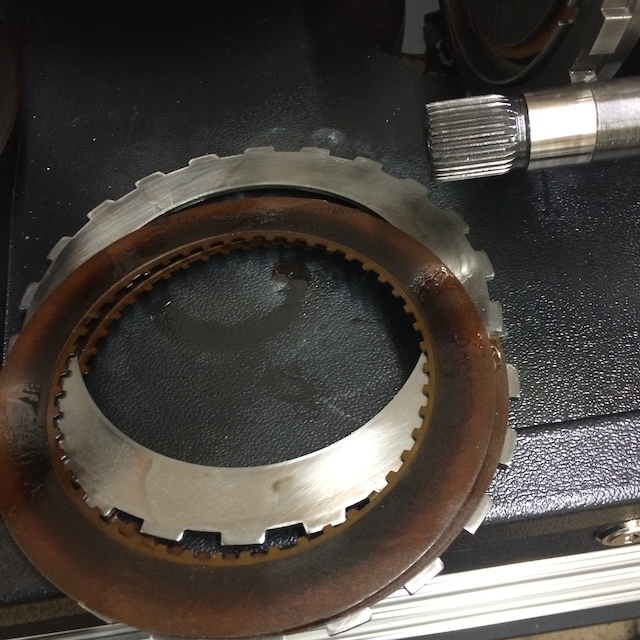
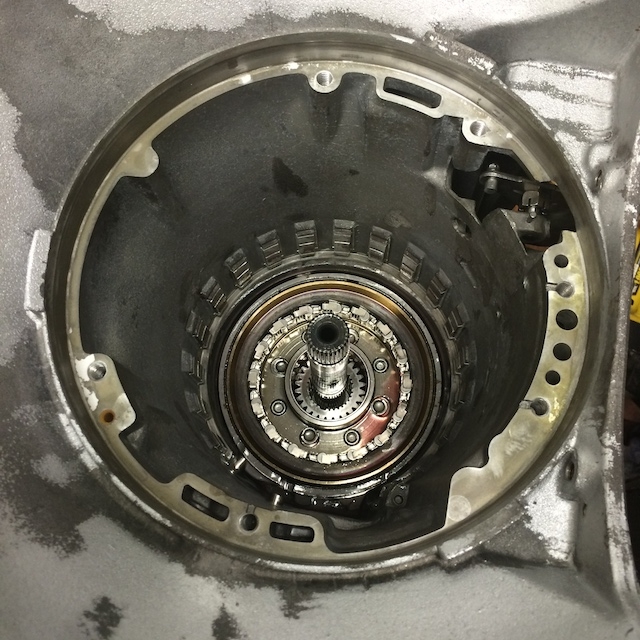
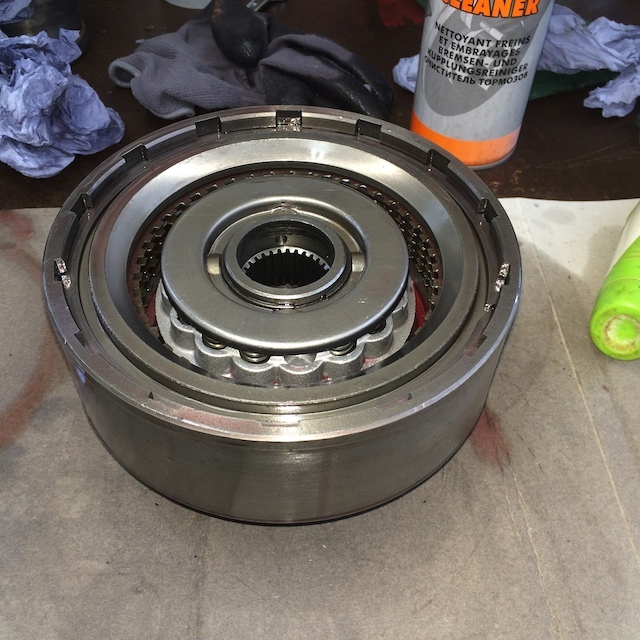
with all the spiny things shoved into the case, its time for the valve block , the bit that sits over the filter when looking at it in the car, the valve block is the brains of the system , and controls the pressures and flows of the fluid within the case, there are several different types , Jaguar used the manual select first and second gear and full auto , but there were safety features to stop the box from being damaged, so even if you selected first , the box would change up if IT felt it needed to , these can be over ridden by altering the valve block setup with modifications and different valve block paper gasket sets ,
i have stuck with a stock setup , well almost , as i have an adjustable modulator , and removed the accumulator assist spring within the valve block for this function , and also some of the fluid check balls have been omitted ,
this is the valve block with its component parts removed ready for cleaning
 4018
4018 by
MyPix
this is the valve block with all the parts refitted from the previous picture, its a simple clean and check , lubricate and reassemble task , you can just see the pistons within the block in place
 4001
4001 by
MyPix
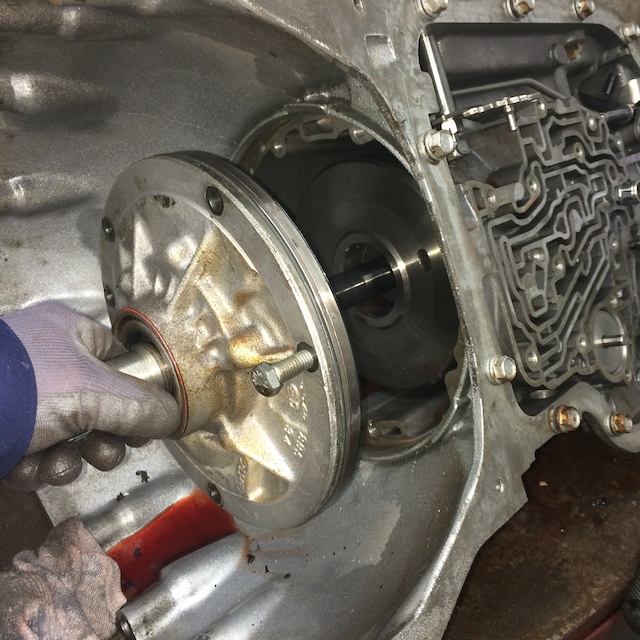
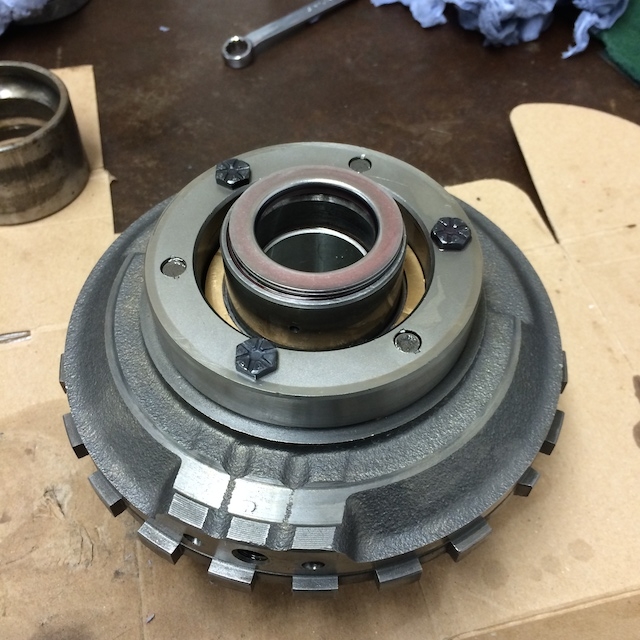
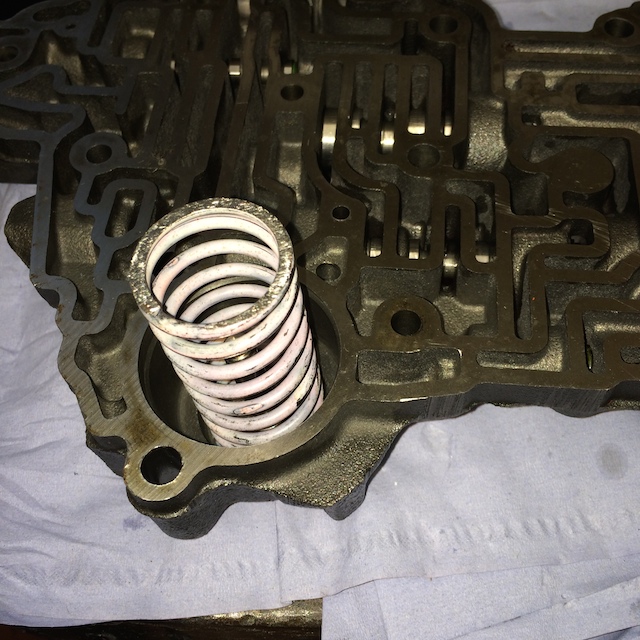
next is the accumulator piston for the front band , with the adjustable vacuum modulator you can omit the spring, this makes for a slightly crisper shift , these are the component, a new teflon seal was fitted prod to fitting
 4002
4002 by
MyPix
this picture shows where the spring should go , i did not fit this spring, it is a widely accepted modification to improve response
 4003
4003 by
MyPix
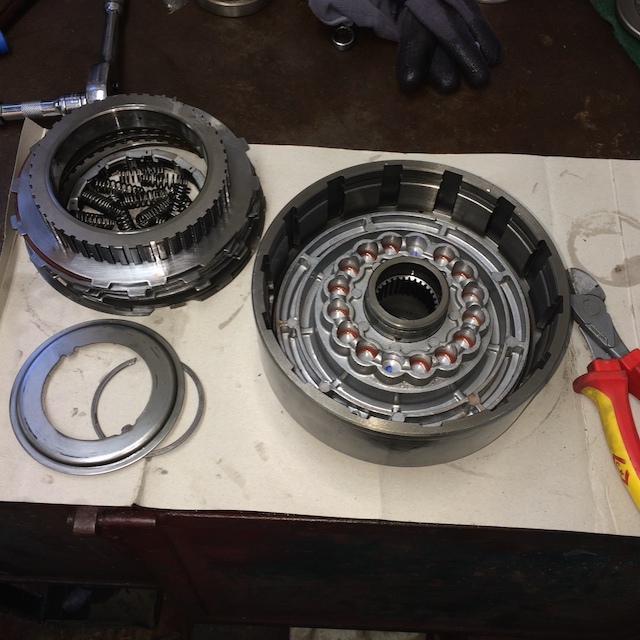
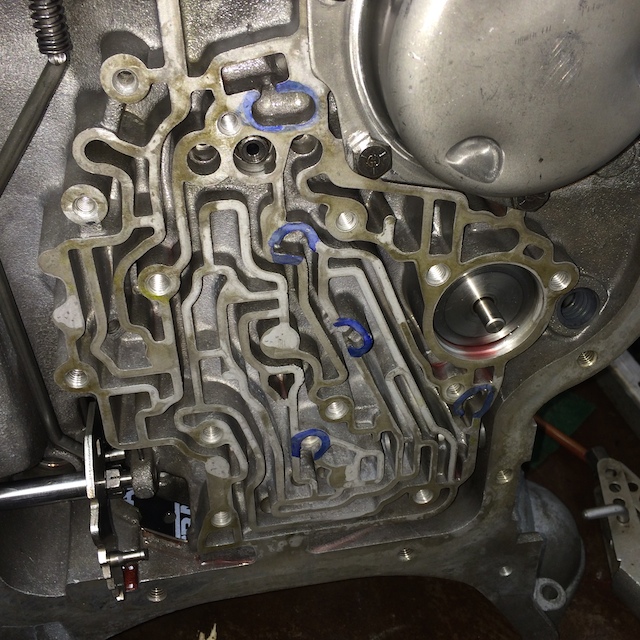
then its the fluid check balls , these are simple ball bearings of a certain size, six are normally fitted for ' comfort ' two are the minimum required for race shifting at full pressures, i opted for five check balls in the locations shown
 4000
4000 by
MyPix
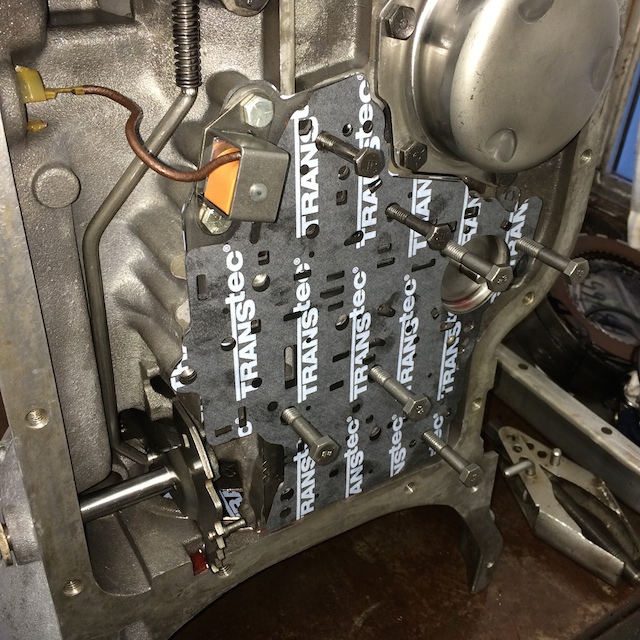
next is to offer up the gasket set and spacer plate, along with the detent solenoid which is for the kick down function , this was all placed on the case and held in place while the detent solenoid was tightened down
 4005
4005 by
MyPix
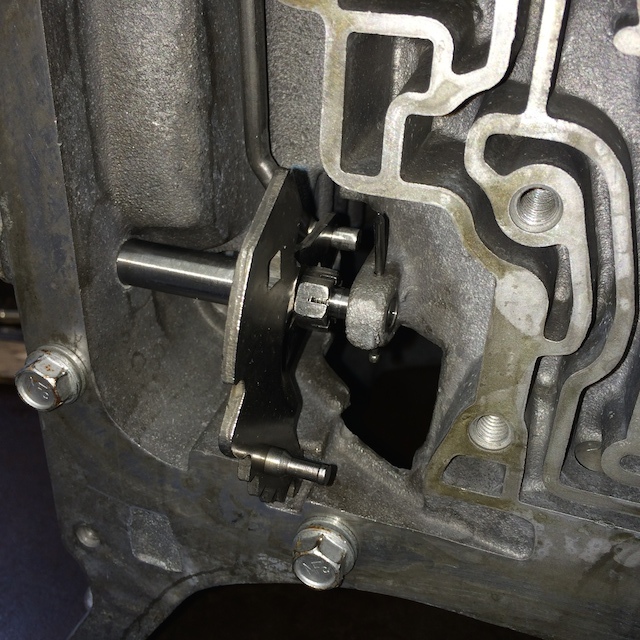
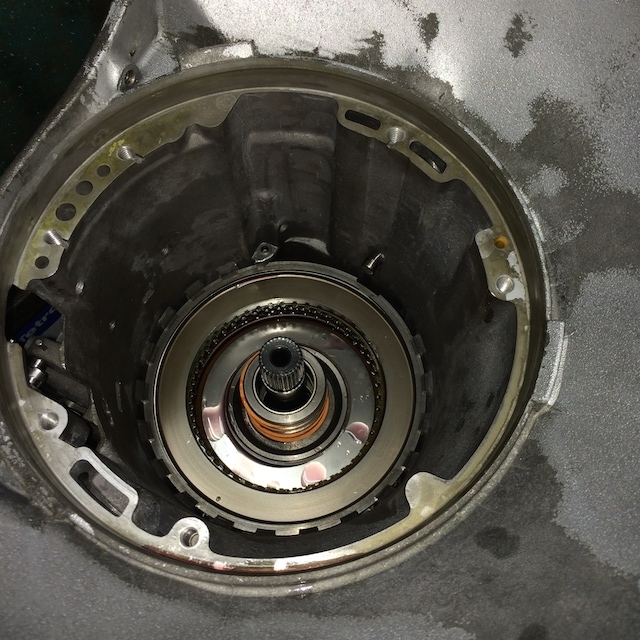
i then removed the bolts that are protruding and offered up the valve block while locating the two top oil flow pipes to the case, and the manual select valve onto the manual shifter cam with the spring retainer in place
 4010
4010 by
MyPix
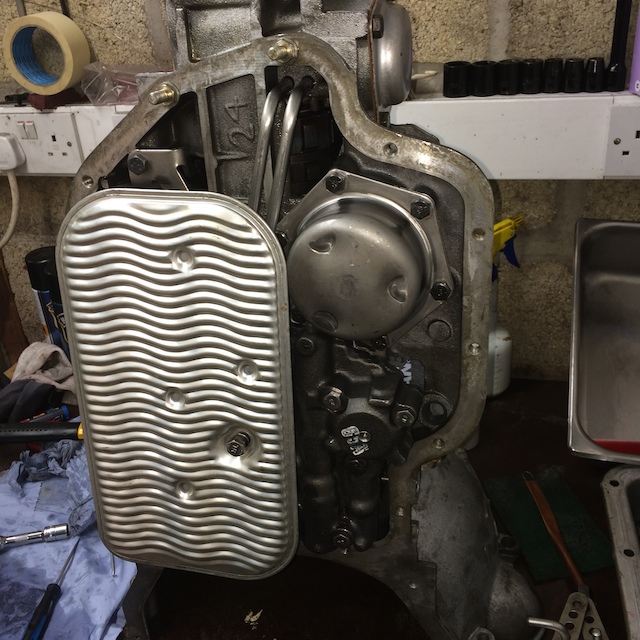
next is the oil pickup tube, its common practice to install this tube with two O rings fitted to ensure correct pickup , belt n braces and all that.......
 4011
4011 by
MyPix
and then its the filter
 4012
4012 by
MyPix
 4013
4013 by
MyPix
i then temporarily fitted the sump pan using a lesser cork gasket , i plan to paint the case and fit a nice chrome ' finned ' sump , but the original one will stop things getting damaged for now
BB