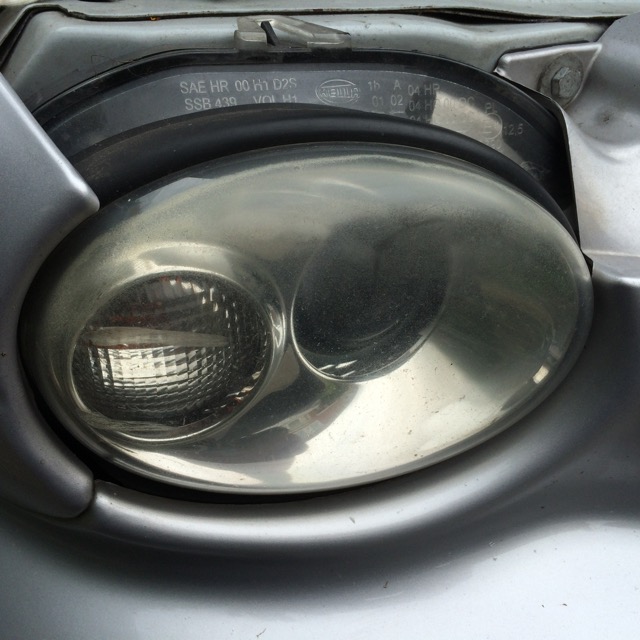
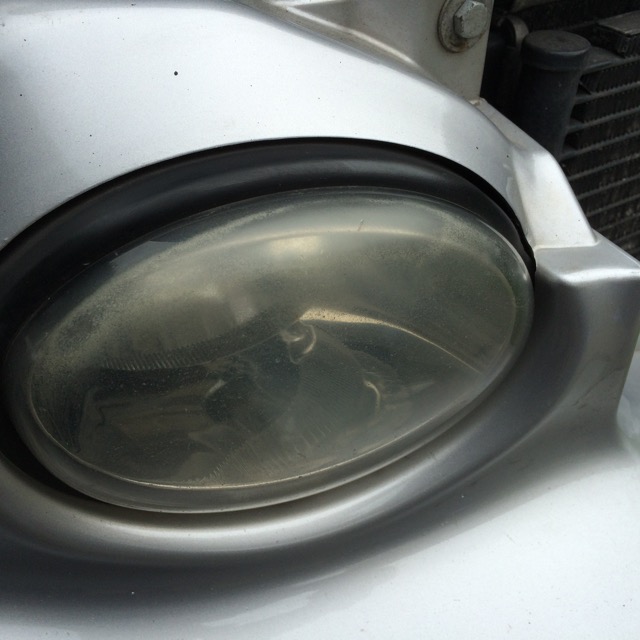
polished the headlights today , gave her back her sparkle

Moderators:Dave Eynon, steveisleofwight

Brakebuster
Posts:3145
Joined:Tue Apr 18, 2006 1:17 pm
Location:Gloucester UK
polished the headlights today , gave her back her sparkle

Postby Brakebuster » Sat May 02, 2015 4:59 pm

as with most , if not all of the X-types around the headlights suffer from UV degradation and discolouration of the lenses

this can be a problem come MOT time, but it also looks terrible on an otherwise decent car

my headlights were this bad, drivers side
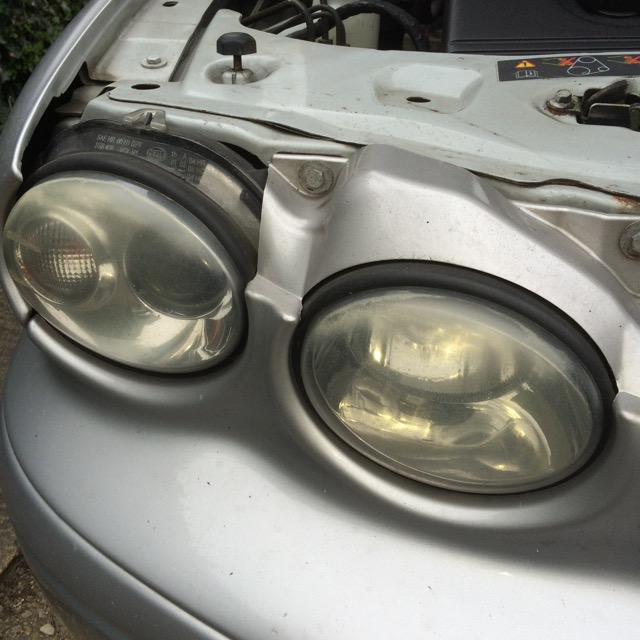
Image
IMG_2409 by MyPix on Talk Photography

passenger side , i had already tried hand polishing the outer headlight some months back but it was too labour intensive and the right amount of force and pressure couldn't be maintained
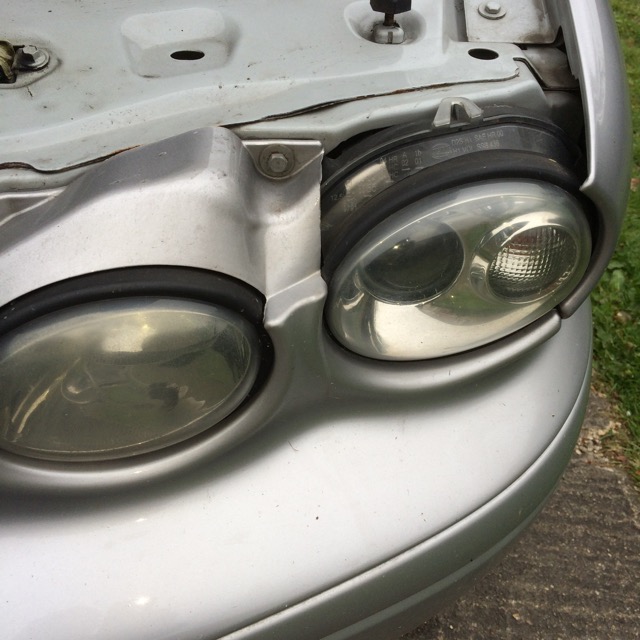
Image
IMG_2410 by MyPix on Talk Photography

so i bought this kit on ebay for £13 to be used in a drill
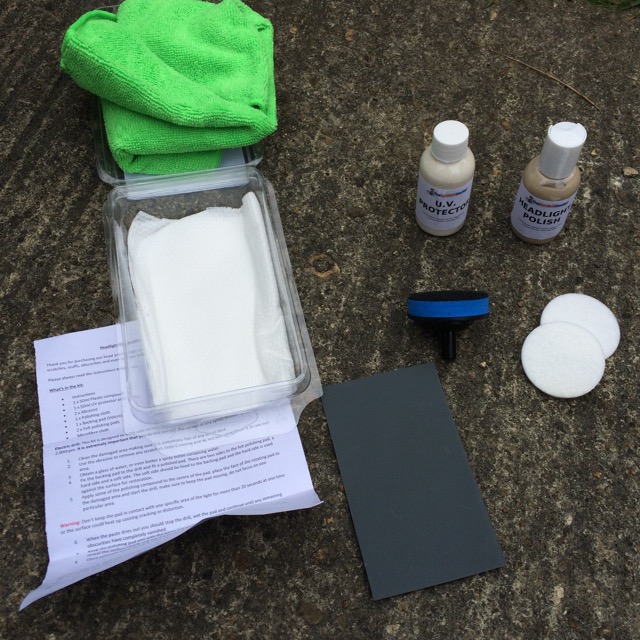
Image
IMG_2413 by MyPix on Talk Photography

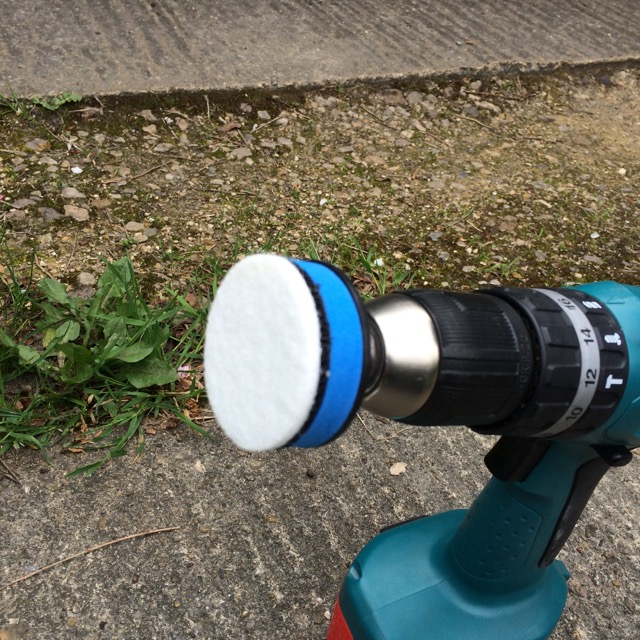
the polishing bit fits like this , with a removable soft pad to apply the polishing agent
Image
IMG_2414 by MyPix on Talk Photography

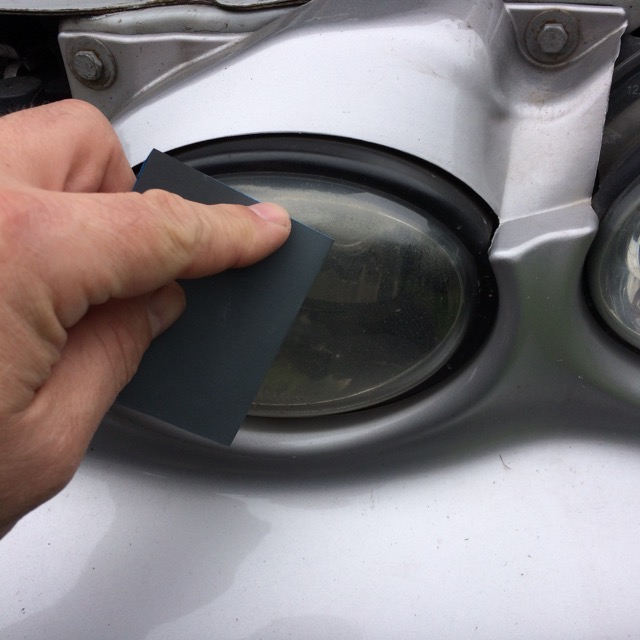
but first, you have to remove as much as the crusty surface as you can with some 2000 wet and dry paper using some water to help things along , a hand spray bottle is perfect for this
Image
IMG_2416 by MyPix on Talk Photography

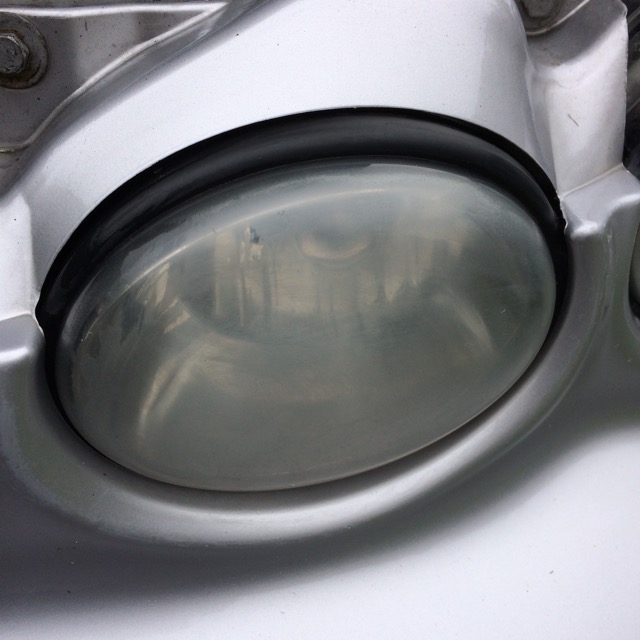
once finished with the 2000 paper the headlight will look like this, but feel smooth Image
IMG_2417 by MyPix on Talk Photography

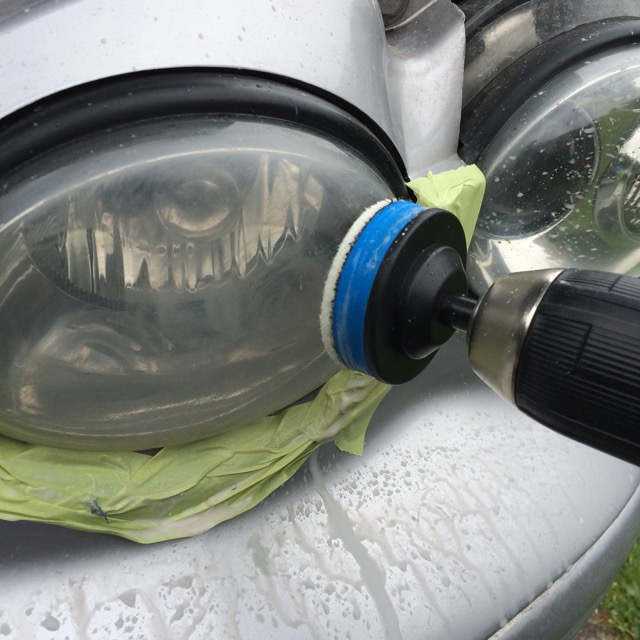
then mask up the surrounding paint to stop any damage , and use the drill with the polishing agent and some spray water,
Image
IMG_2418 by MyPix on Talk Photography

take your time, and make sure the headlight stays cool, as this process will warm it up rapidly and could damage the lense if not careful

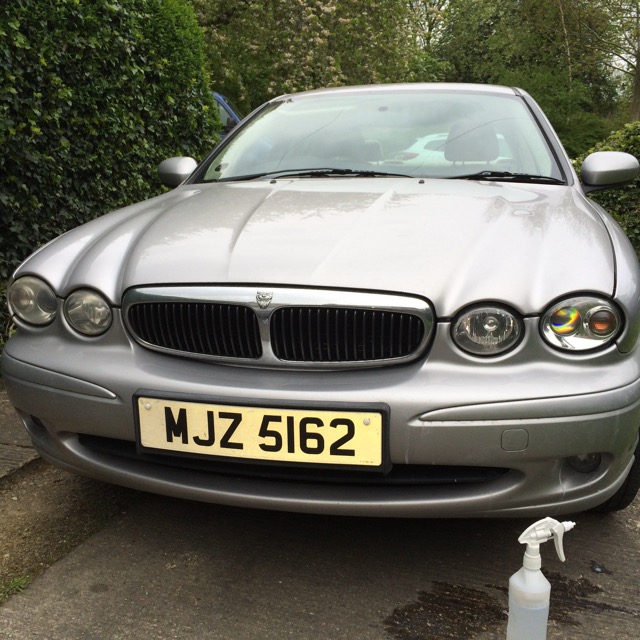
this is the one side compared to the other side shot......
Image
IMG_2420 by MyPix on Talk Photography

so , onto the drivers side, these were worse condition wise , and the one headlight had a double ' scar ' from a PO ( probably some idiot in a carpark :roll: )
Image
IMG_2421 by MyPix on Talk Photography

Image
IMG_2422 by MyPix on Talk Photography

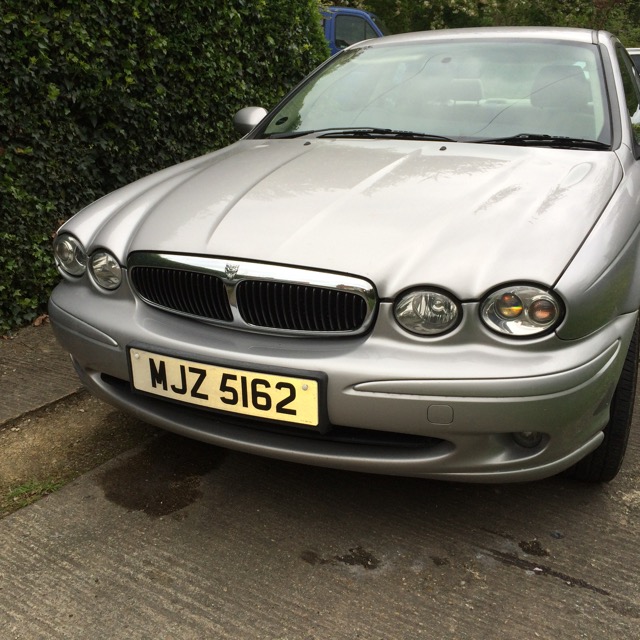
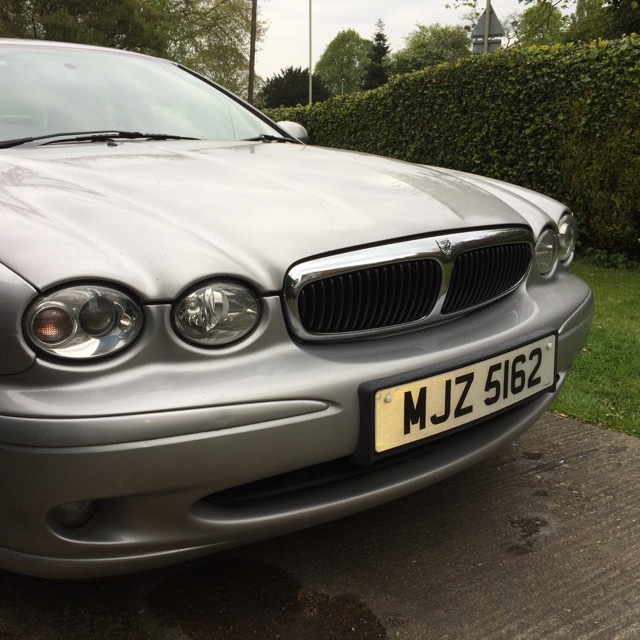
same process all over again , and with some patience you can improve the look of the car immensely
Image
IMG_2423 by MyPix on Talk Photography
Image
IMG_2425 by MyPix on Talk Photography

once finished, there is some UV protection paste ( like sun cream ) to add , let it dry then buff it off with the supplied cloths

took me about two hours in total , a full job would involve removing the bumper and headlights and strip them down and polish the lenses , but i am more than happy with this process and happy to do it once a year if required to maintain the healthy look of the car

BB
1989 5.3ltr V12 XJS Coupé FULLY RESTORED
2015 2.2TD Sportbrake in BRG and black leather
1994 3.2S XJ40 in Morocco Red with Doeskin interior

old cars
1999 4ltr Sovereign XJ8
2004 X-Type

GreenyX
Posts:35
Joined:Sun Mar 22, 2015 12:45 pm

Re: polished the headlights today , gave her back her sparkl

Postby GreenyX » Sat May 02, 2015 6:59 pm

Lookin good!

User avatar
GordonJ
Posts:361
Joined:Tue Apr 03, 2012 9:24 pm
Location:Doncaster. South Yorkshire

Re: polished the headlights today , gave her back her sparkl

Postby GordonJ » Sun May 03, 2015 4:04 pm

Looks good, just the post I needed to see as I must get the wives S Type done soon.
Thanks BB
XJ6 X350 Sovereign
Chairman. Doncaster and District Region
Email. doncaster.district@gmail.com
Previous Jaguars.
XJ8 Sovereign in Seafrost
S Type in Red

User avatar
J44EAG

Moderator
Posts:6239
Joined:Sat Oct 20, 2007 9:57 pm
Location:Warlingham Surrey/Faversham Kent

Re: polished the headlights today , gave her back her sparkl

Postby J44EAG » Sun May 03, 2015 8:04 pm

I have had to do the same on my MY02 S-type.

Story documented and photographed on the S-type Forum.

I used a similar method but with Fast Cut Farracla paint cutting paste and various grades of W&D production paper. However the job tends to drop back after about a year due to the incredibly destructive effects of UV. Of course the downfall with my method is that I`ve not used a UV protector because I`m a cheap skate!. I really must see if I can find some without buying the proper kit!!

Well done. It is not easy work and sometimes as you struggle to remove the tarnish, you wonder if the job will look presentable and uniform. I`ve also used tooth paste on one attempt. Something we used when I was making presentation models of Hawker Harriers and the perspex canopies had to be polished up.

I`ve tried this method on my specs as well. Not quite so successful as after cutting back the prescription changes and I wonder if I`ve done the right thing there also!

Mike
X350 Co-ordinator

2004 XJR

steve_m
Posts:1441
Joined:Mon Mar 02, 2009 11:46 am
Location:Wiltshire

Re: polished the headlights today , gave her back her sparkl

Postby steve_m » Sun Oct 23, 2016 10:01 pm

Did the same on the Freelander yesterday; the lights were going to be an MOT fail because they were so faded and horrible.
Looked on line and the cheapest replacement lights I could get were £120 each.
Bought a kit on line for £19, took about half an hour and the lights look like new.
Well worth the time and effort.
The X Type was parked next to the Freelander and all of a sudden the headlights looked grubby.
As I had the kit out I did the X Type, small lights so only 5 minutes each, job done.


Who is online

Users browsing this forum: No registered users and 1 guest