Page 1 of 4

Jaguar Sovereign rust and restoration - lots of welding!

Posted: Mon May 28, 2012 4:12 pm
by db40
Rob Jenner will recognise this car – he’s helped me with it in the past! :)

I thought a restoration thread for my 1992 (93MY) Sovereign would be of interest, either for JEC members who are contemplating doing the work themselves - so they can see how the car is constructed (much is shared with the X300), or of sending their XJ to a body shop.


I struggled to find a body shop locally; I did receive recommendations for workshops whose work was mighty impressive but they tended to be on the other side of the country and beyond my wallet!

Eventually, I was lucky to stumble across Autofusion in Leigh, Lancashire - http://www.autofusion-uk.co.uk run by a pair of welders and real car enthusiasts Gray and Dave.

I have been impressed with their skill and approach to my car and recommend them to anyone in Cheshire or Lancashire regions who wants their car welded carefully and with no bodging anywhere. They are also very good value for money.

They are also capable of working to the highest standards. The car in their body shop when I made my initial visit was an Alpina BMW; the quality of their work was full Concours.


Anyway, enough prologue! - The car:

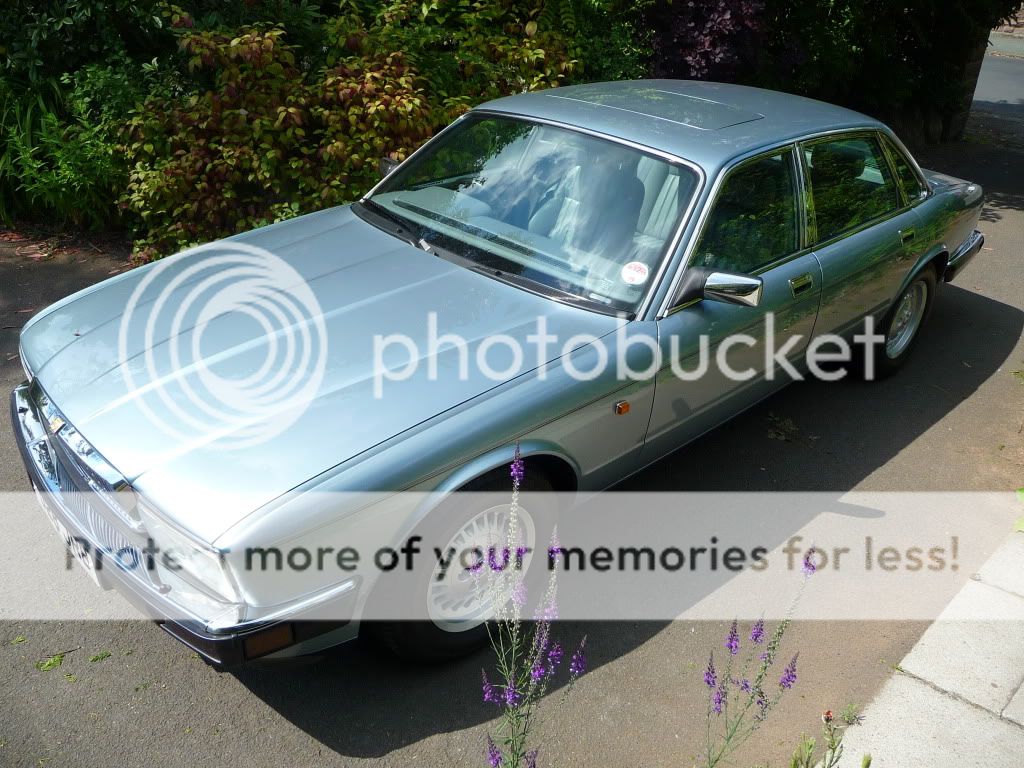
My old Sovereign is a 3.2 litre and once belonged to my late father, so has huge sentimental value to me. I have had it more than ten years. It was registered in 1992, but built in October – so is an early battery in boot car. These do seem to suffer quite a bit of rust and my car is no exception. Here it is, photographed in France in the early to mid 1990s:

Image
Image

And as it was in 2011 after the Black Sheep meet:
Image

The interior is still in good condition:

Image

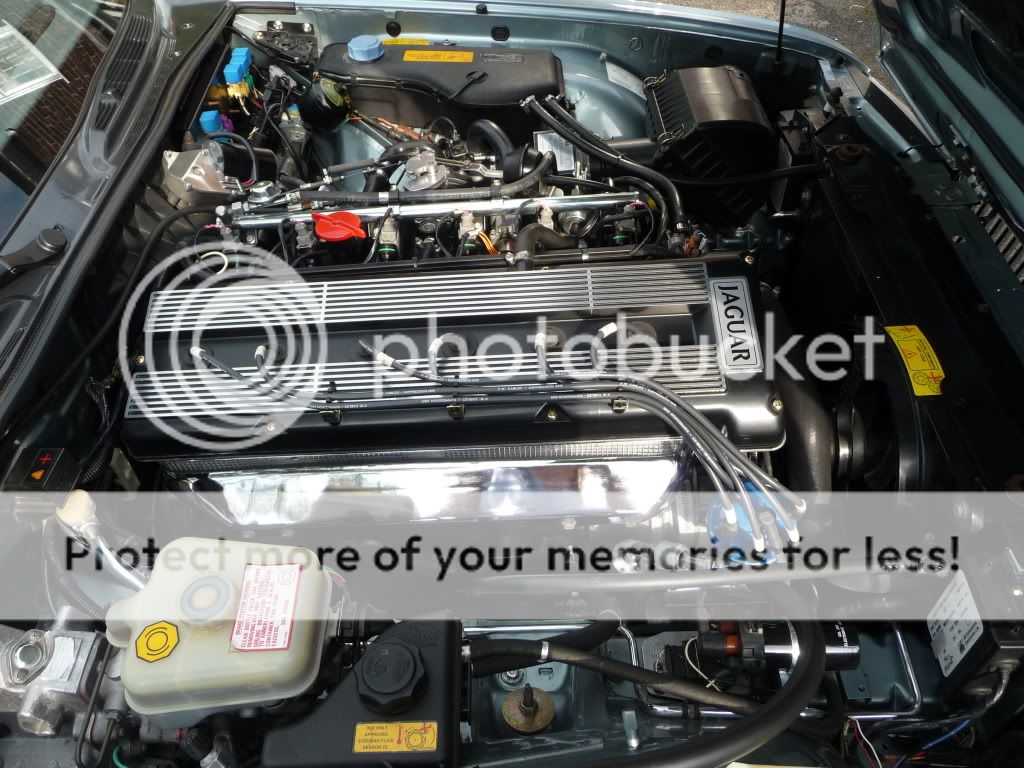
Jaguar made such handsome engines:

Image

The rust!!

My XJ40 is a strange mix of conditions. Some of it is excellent; some of it is really very rusty – bad enough to threaten the future of the car.

Re: Jaguar Sovereign rust and restoration - lots of welding!

Posted: Mon May 28, 2012 5:03 pm
by db40
(I’m not quite following the correct time order of the work, rather grouping areas of the restoration together in order for my thread to be easier to understand.)


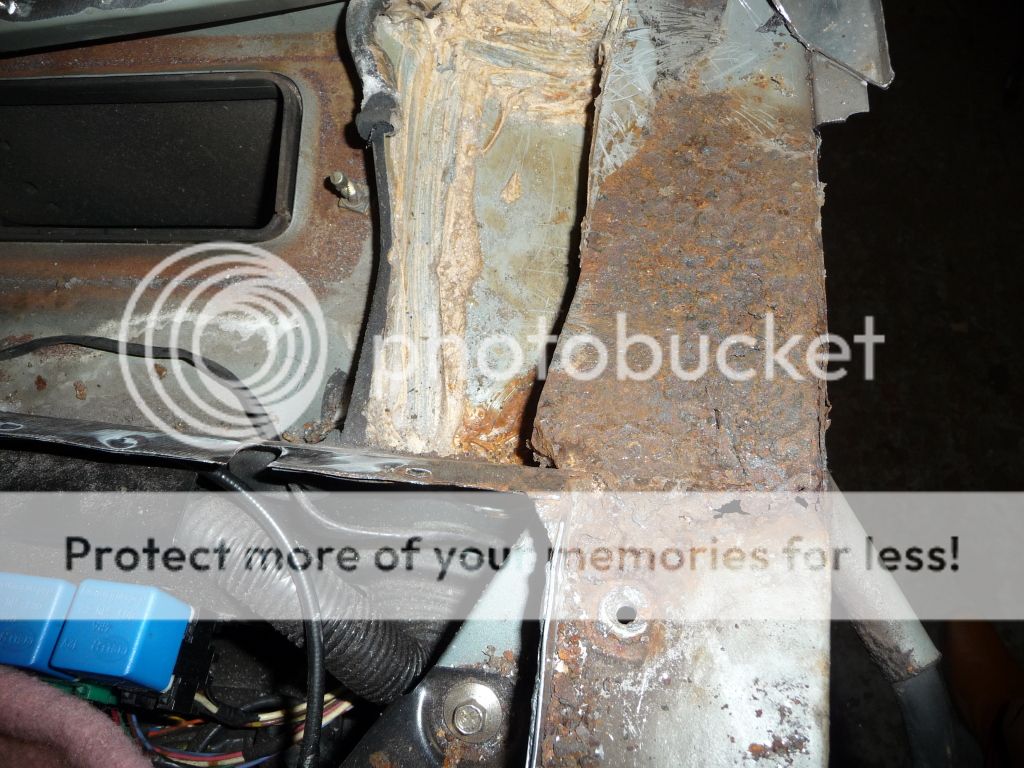
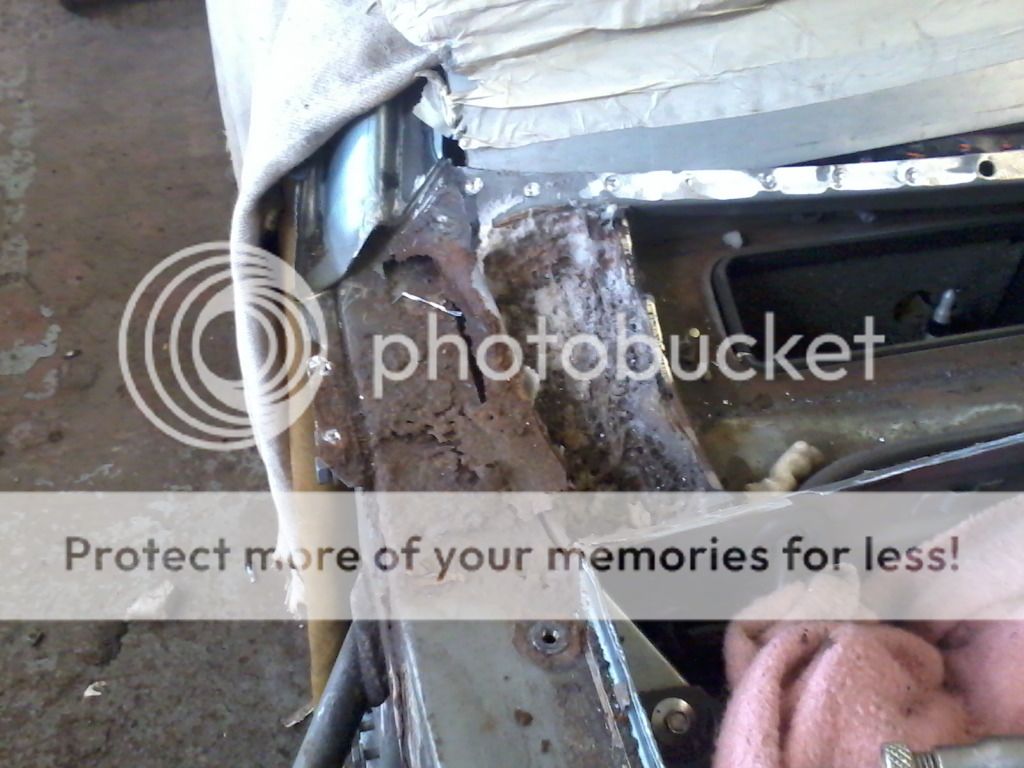
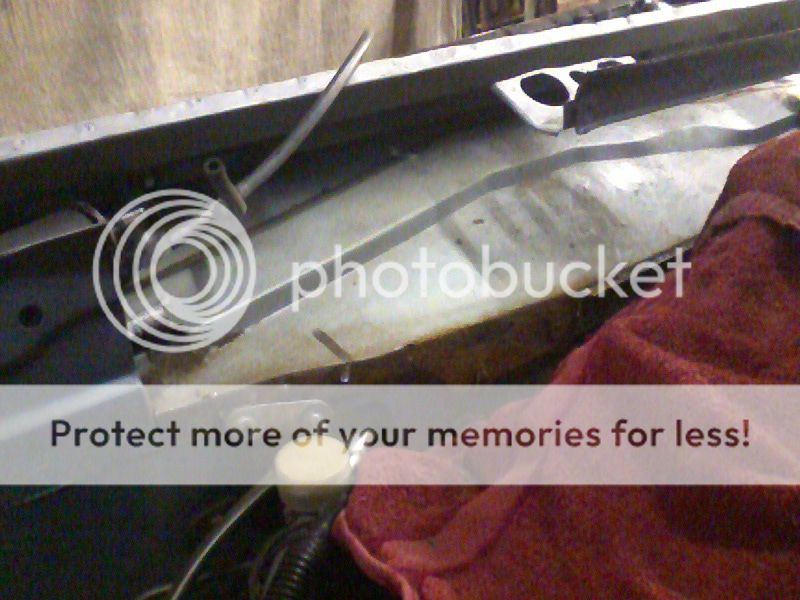
Wings are off so the rust can be assessed. The inner wing/top of the plenum seems to be a serious rust site on late XJ40s and some X300s.

Image
Image

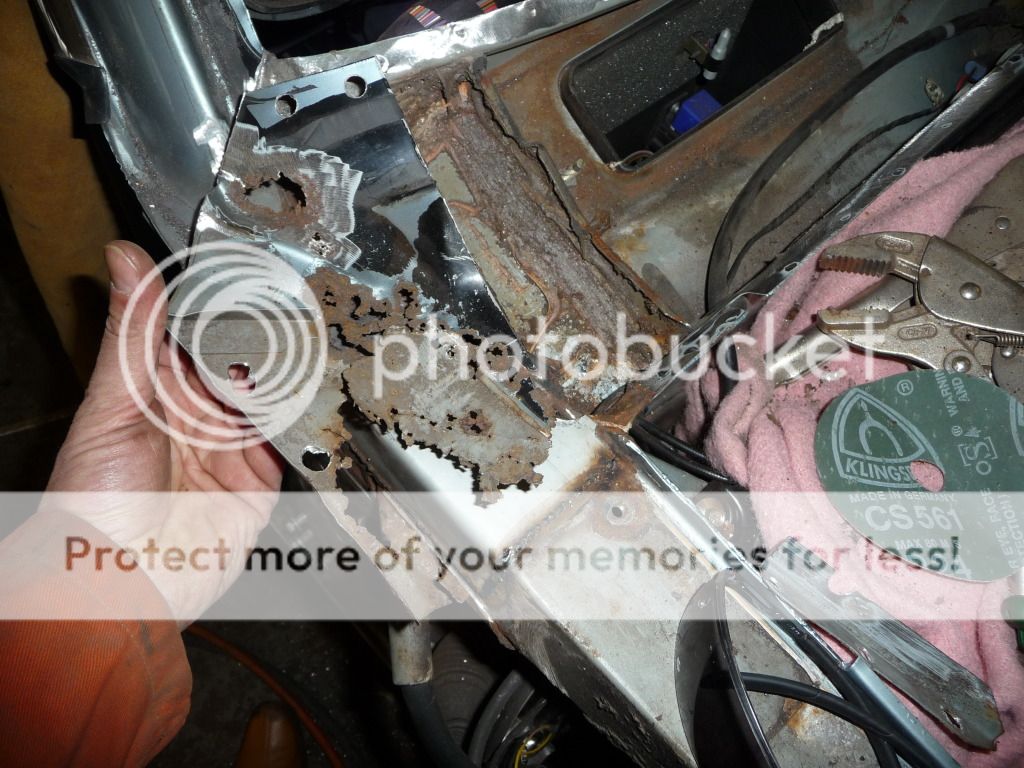
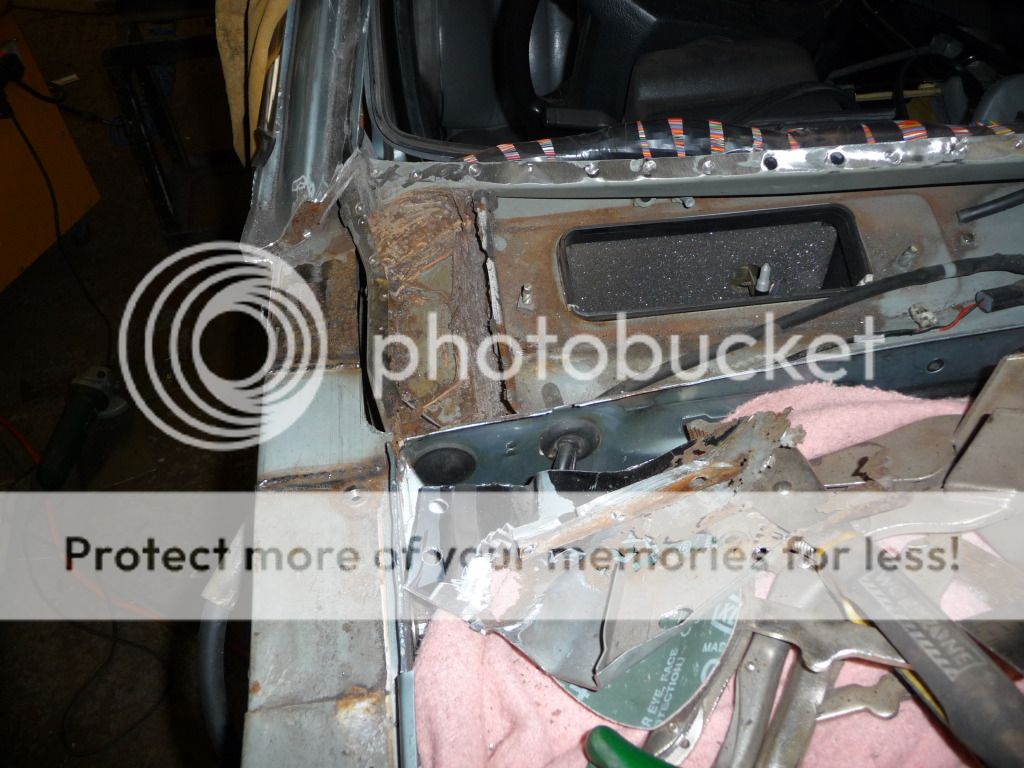
Closer view of typical rust. When water leaks in here and is found in the footwells. Strangely, my car didn’t leak. This was later found to be because the inner panel was still sound.
Image

Image

It’s all properly crusty and flaky here and very weak.

Image

On to the passenger’s side (RHD car) - slightly better?

Image

Still pretty rusty though.

Image

I was worried about what is going on inside the bulkhead cavity, under the scuttle. I poked my finger down the hole here and felt the rust flakes give way down below with a crunch. Not good.

Image

Therefore the top scuttle panel was removed, to reveal the inside of the bulkhead, which turned out to be in excellent rust free condition. I was very relieved indeed!
The brown staining is dust stuck on to a wax coating on the metal, and sitting on top of the seam sealer. It can be scraped off easily to reveal bright paintwork.

Image

I was very pleased to see that the top panel is as far as the rust reaches. Despite the brown look on the photograph, the ‘compartment’ floor and sides are not rusty. The discolouration is a mixture of rust flakes and dust. The crunching sensation must have been my finger compressing the flaked remains of the top panel which had dropped through into the cavity. Some of the rust was close in texture to soil.

Overview of the inside of the bulkhead cavity, now the scuttle top panel has been removed:

Image

Closer in:

Image

The whole interior of the plenum is in excellent condition – again the brown areas is just dust which was vacuumed away to reveal shiny paint.

Image


The whole cavity viewed from the right hand side – the only rust is in the centre of the bulkhead, which I will detail later.

Image
Image
Image


The left hand side was in similar condition, but cleaner since the top panel was not so bad on this side.

Viewed from above:

Image

And from the side across the plenum cavity from the left hand side:

Image

Again the whole structure is rust free on this side – the only rust is in the bulkhead seam in the middle:

Image

Re: Jaguar Sovereign rust and restoration - lots of welding!

Posted: Mon May 28, 2012 5:26 pm
by XjRestorations
Very common areas of corrosion on an XJ40 :oops:
Great to see her being saved though :D

Re: Jaguar Sovereign rust and restoration - lots of welding!

Posted: Mon May 28, 2012 7:35 pm
by db40
Very common areas of corrosion on an XJ40 :oops:
Great to see her being saved though :D

You've done a few of them as well! :wink:

Re: Jaguar Sovereign rust and restoration - lots of welding!

Posted: Mon May 28, 2012 7:36 pm
by XjRestorations
One or two :-)

Re: Jaguar Sovereign rust and restoration - lots of welding!

Posted: Mon May 28, 2012 7:40 pm
by db40
(Again, pictures are not in entirely their original sequence; Gray had done work on the door pillar for example not yet included here)

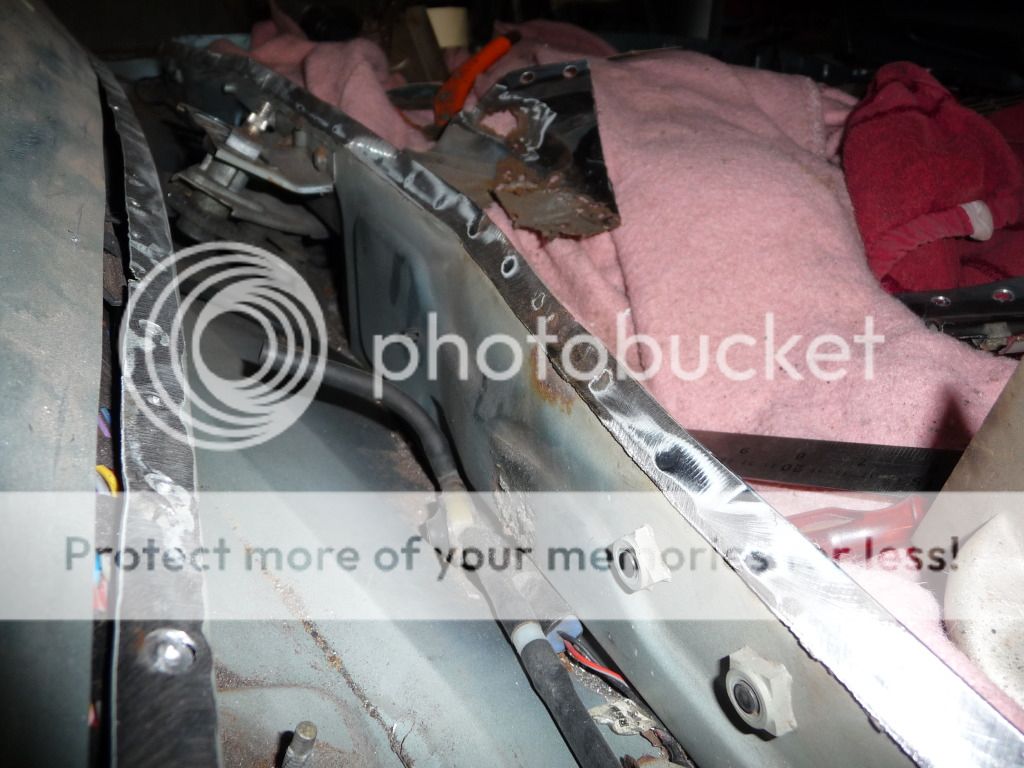
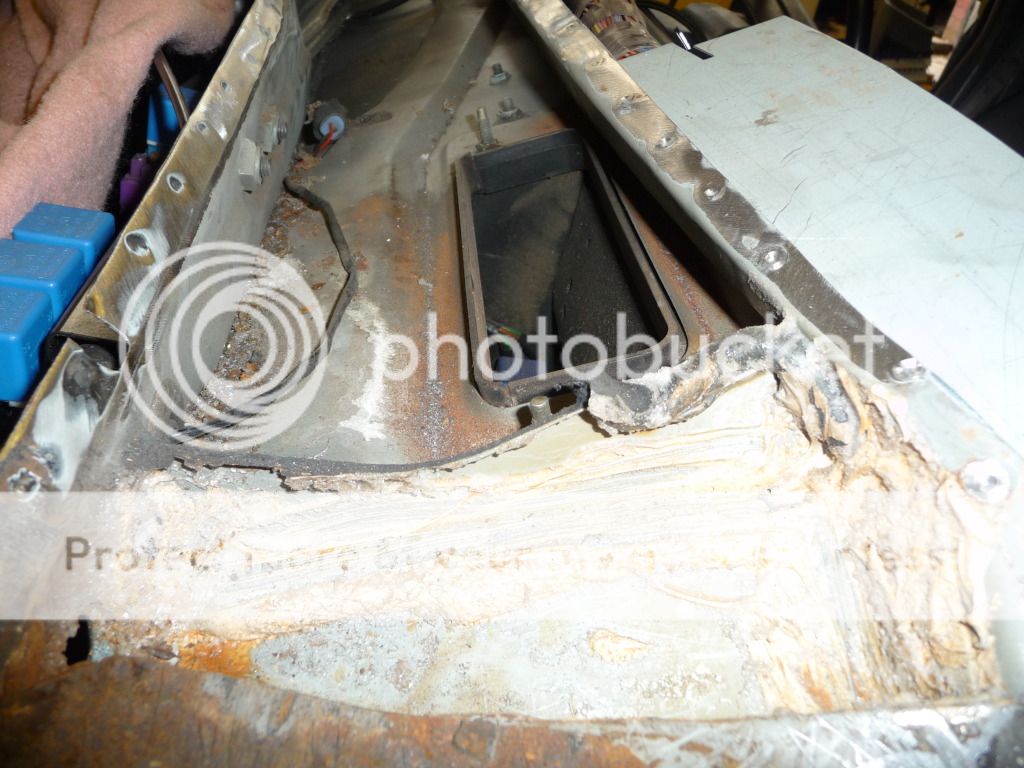
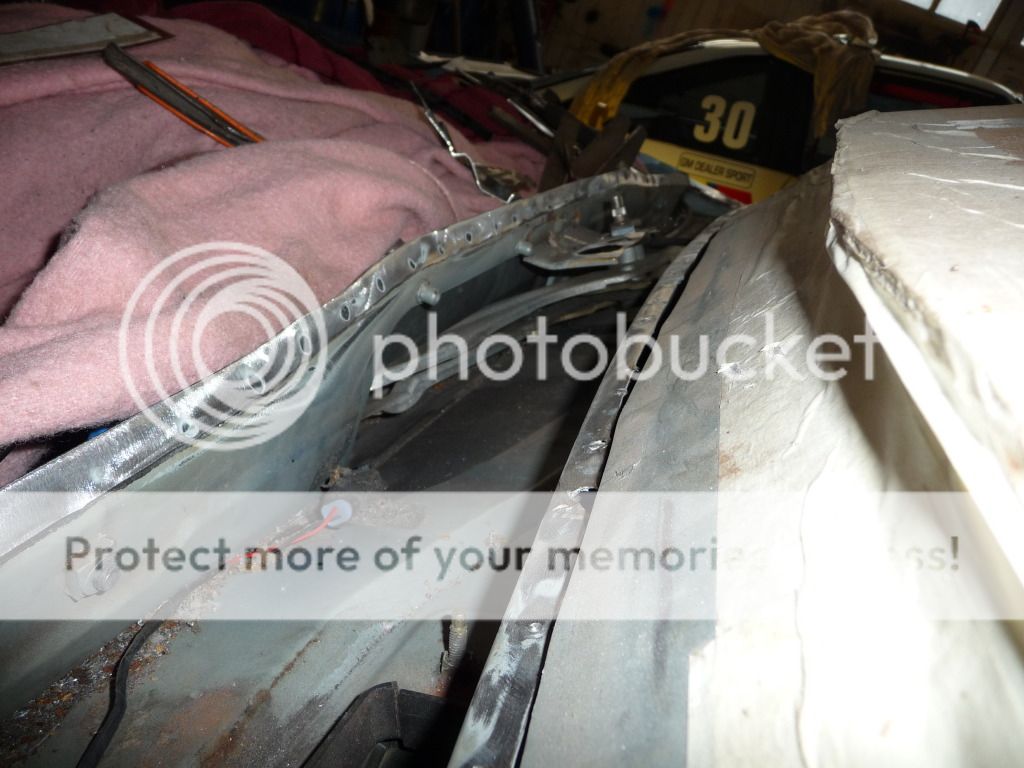
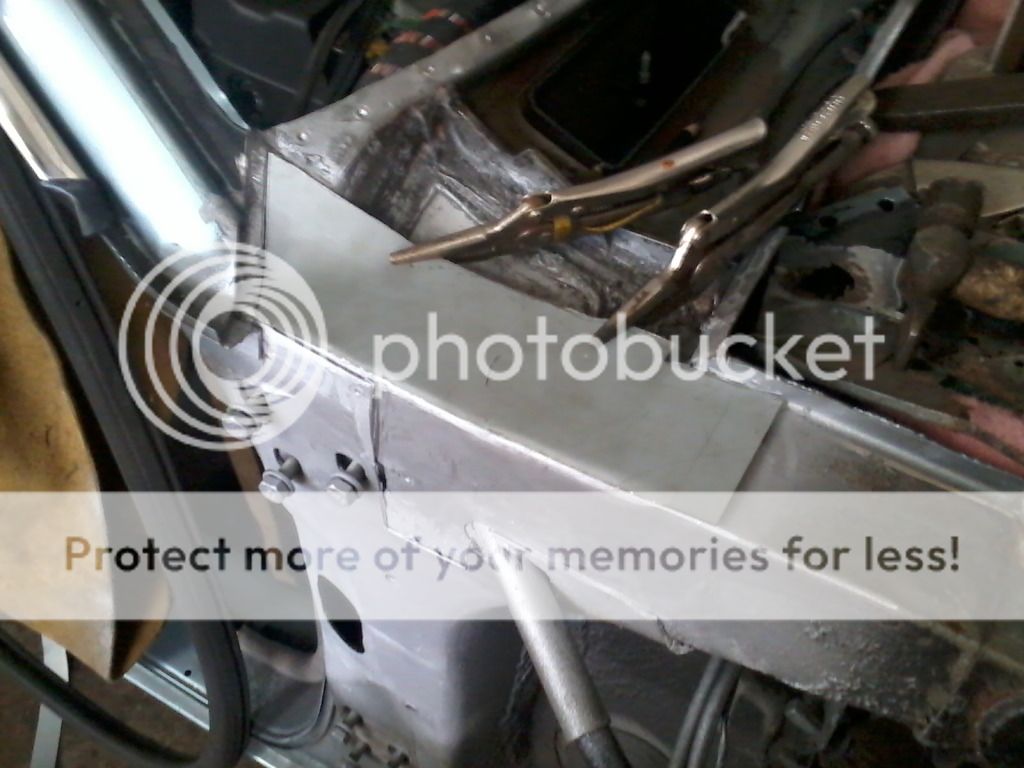
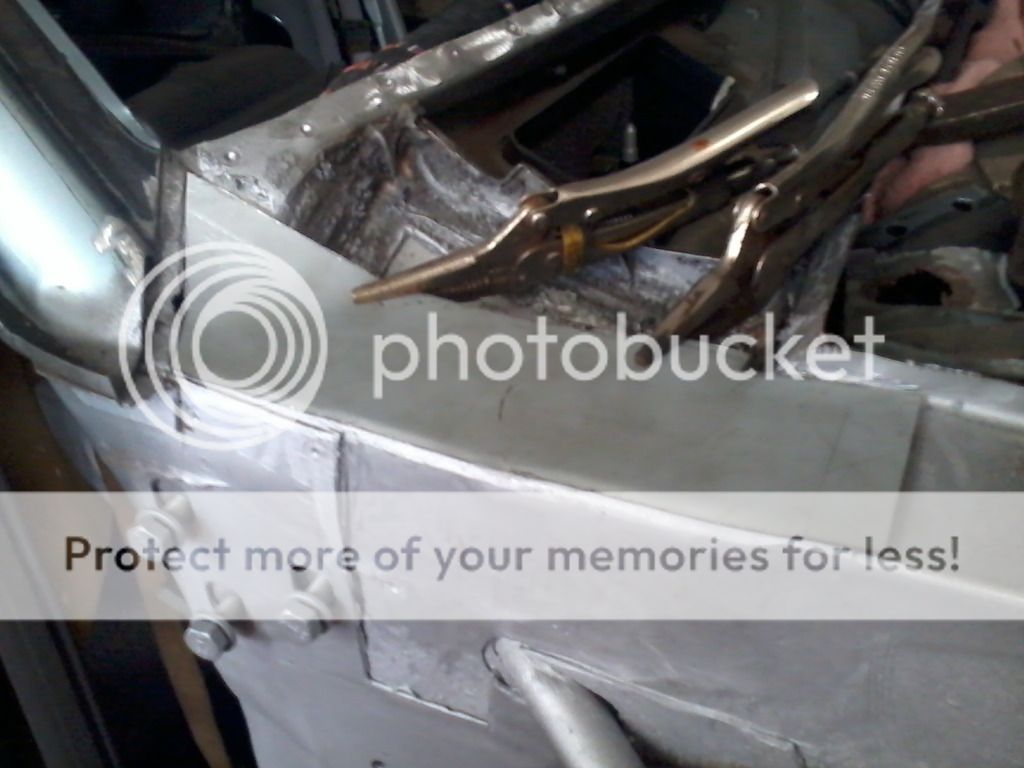
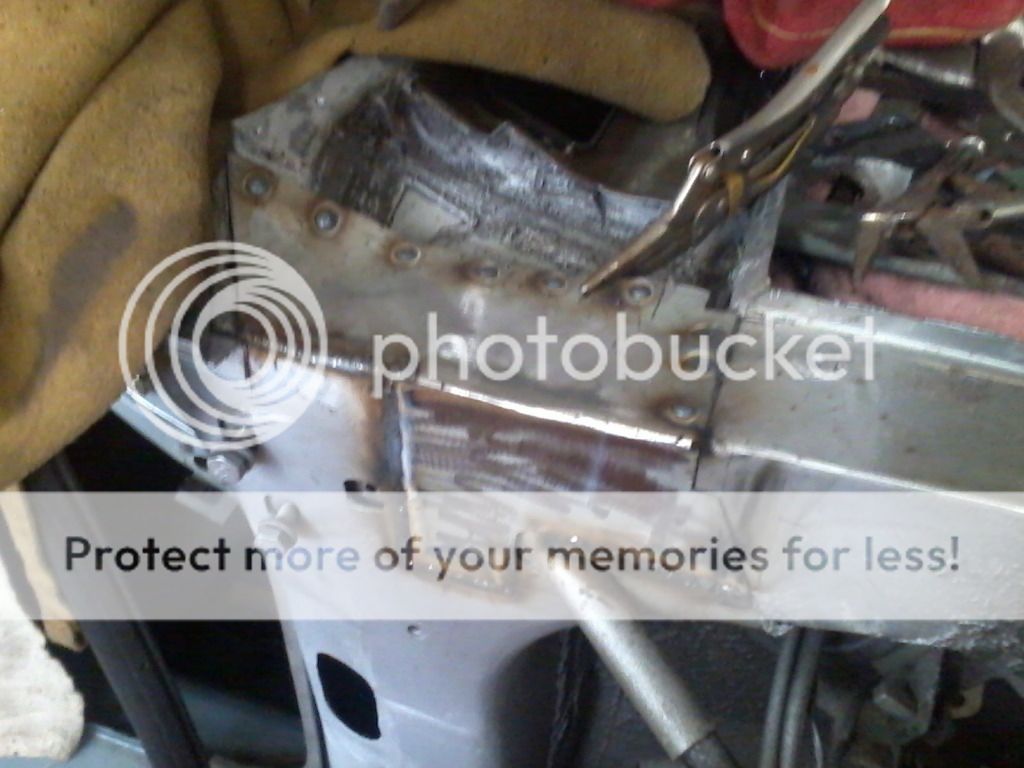
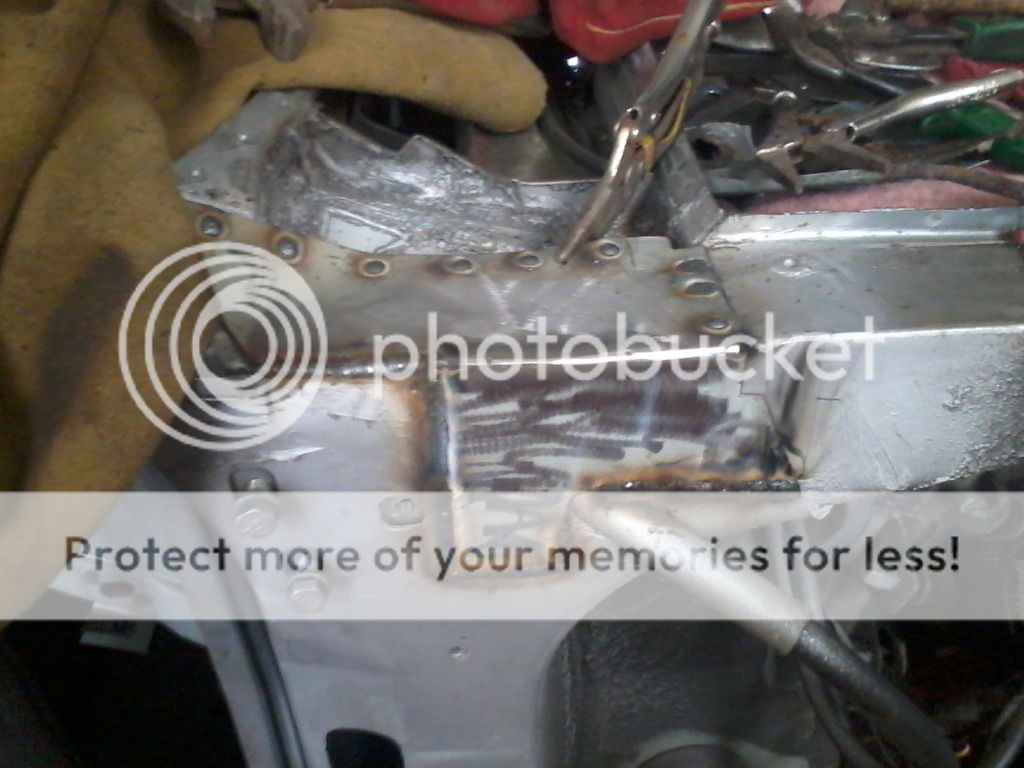
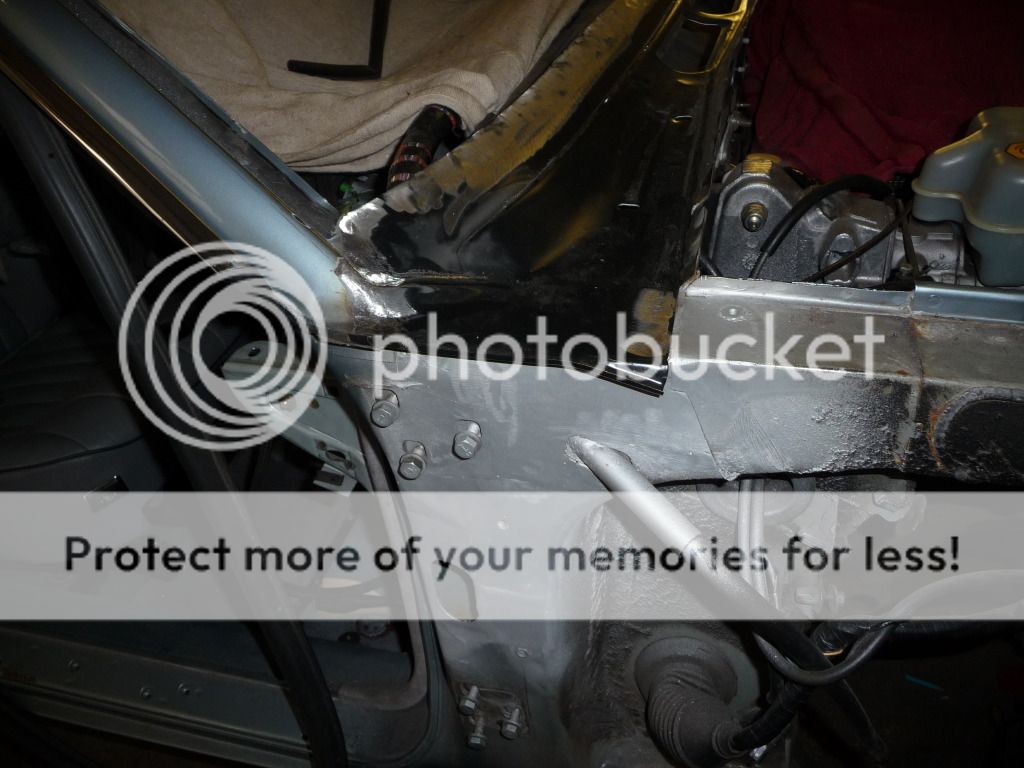
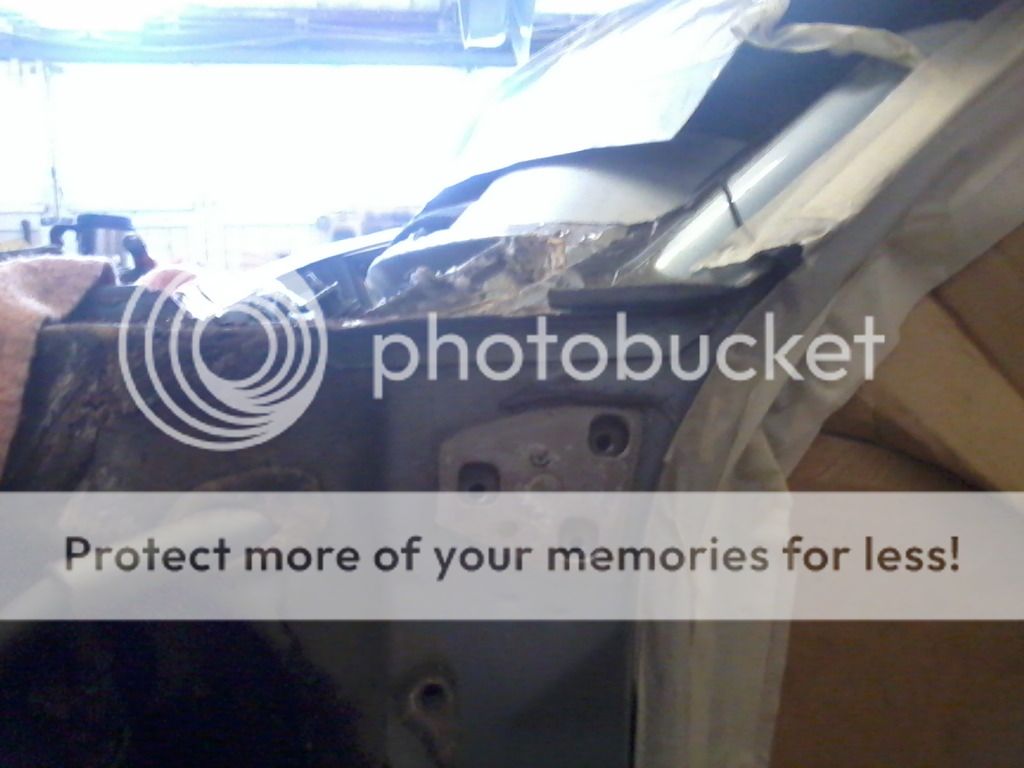
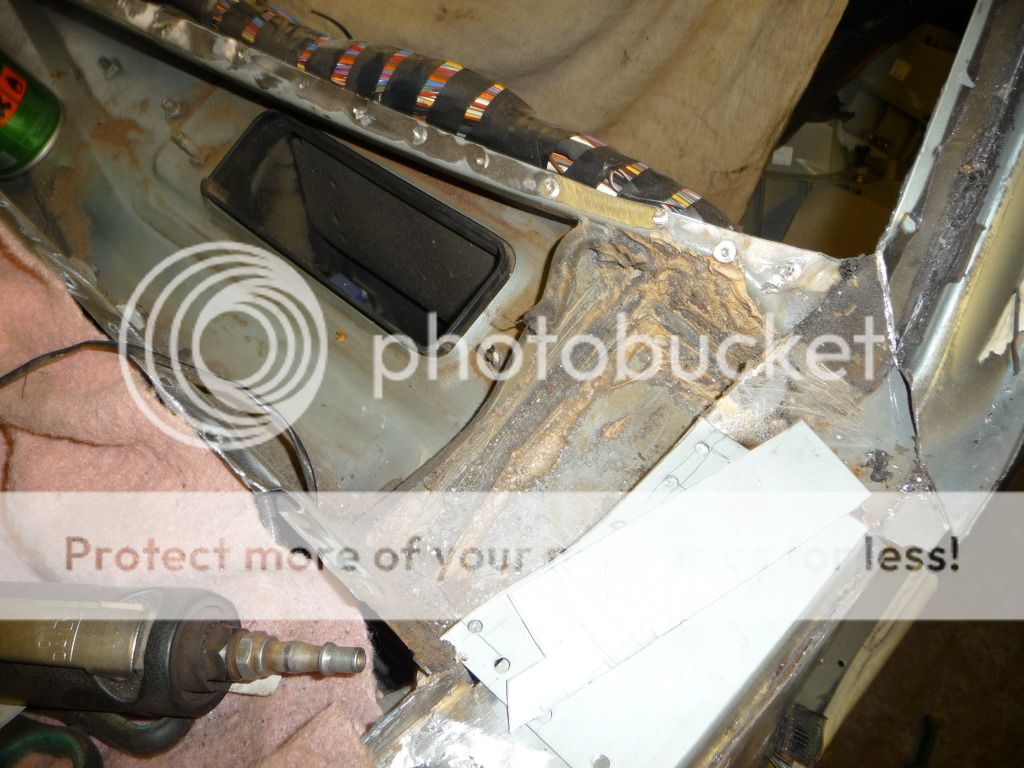
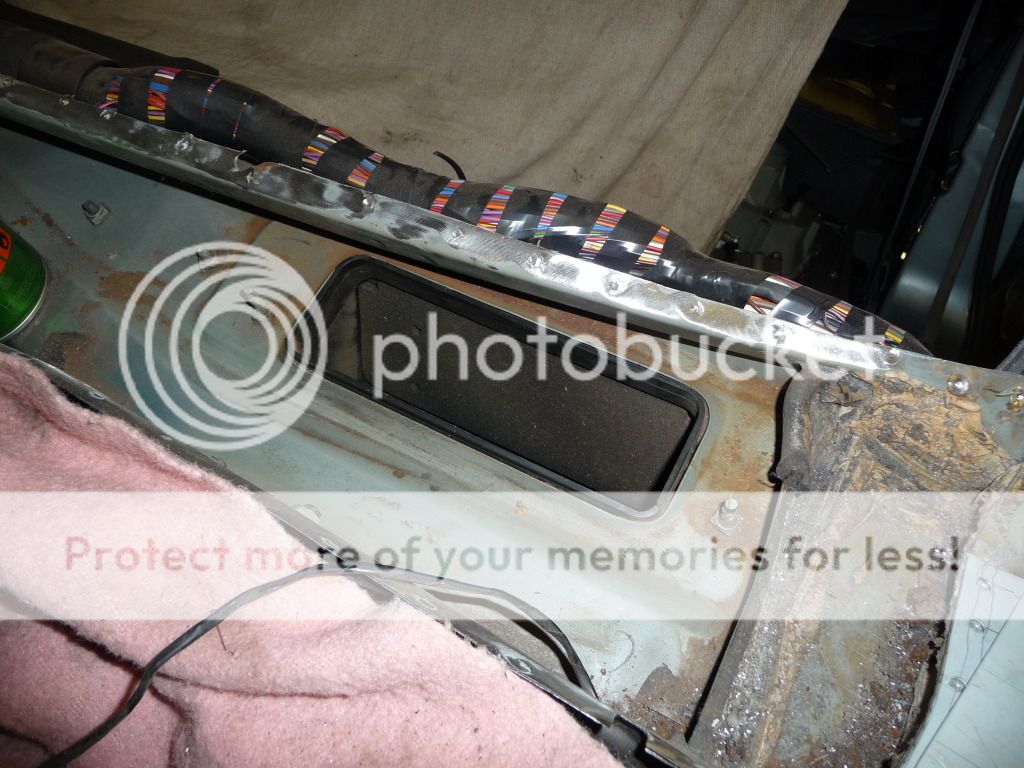
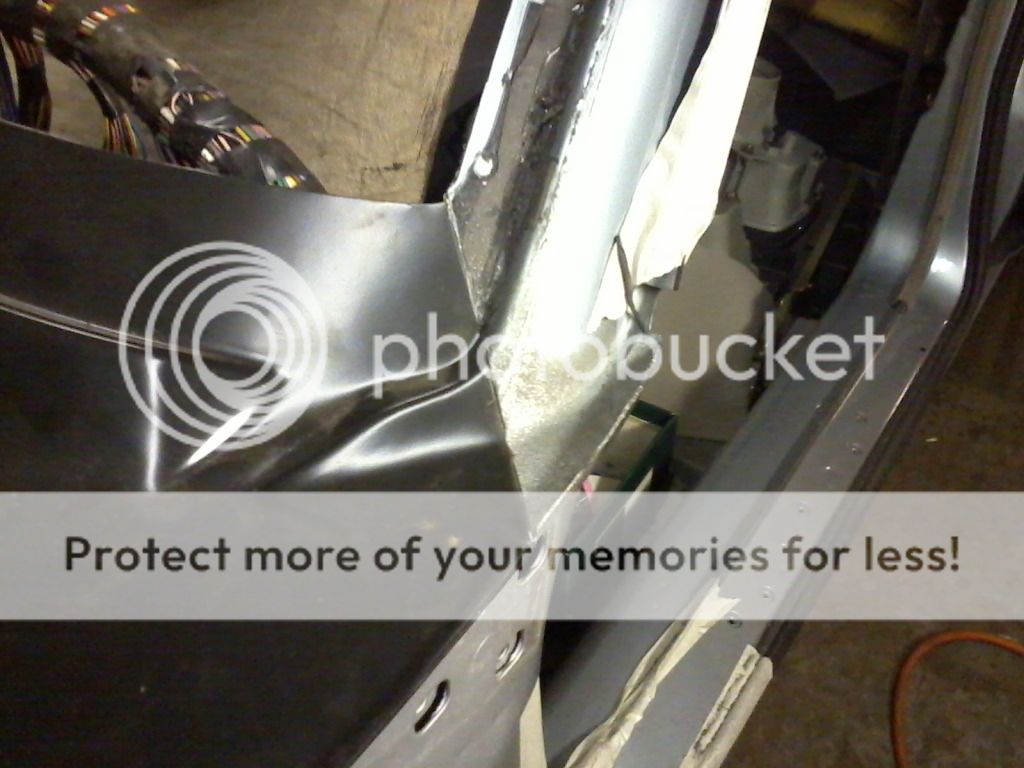
The top of the right hand inner wing was badly rusted. These are built up from several overlaid metal pieces by Jaguar in the XJ40’s original construction. Gray built up the layers in an identical way to Jaguar when he reconstructed them.

With the rusty plenum top removed, this was revealed:
Image

Luckily, the brown staining is dust not rust and was successfully vacuumed!

Image

Image

First layer built up. I seem to have lost the ‘cut out’ photo!

Image

Sprayed with zinc:

Image

Next layer shaped and fitted:

Image

Image

With side piece tacked on now:

Image

Image

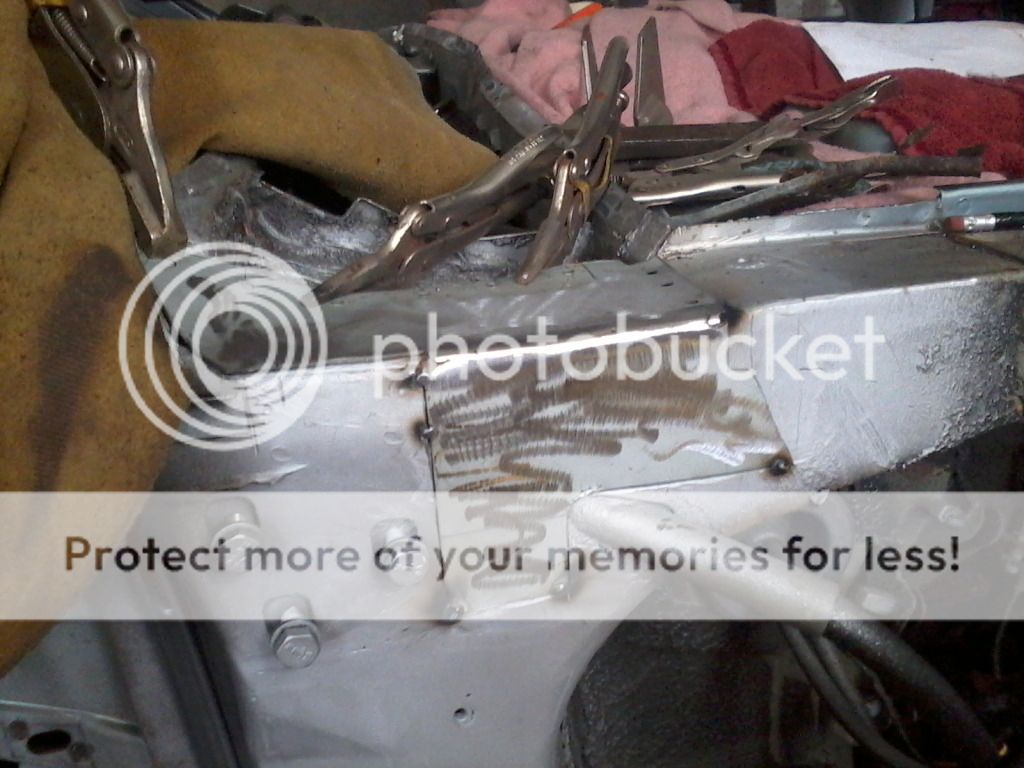
And now welded:

Image

Image

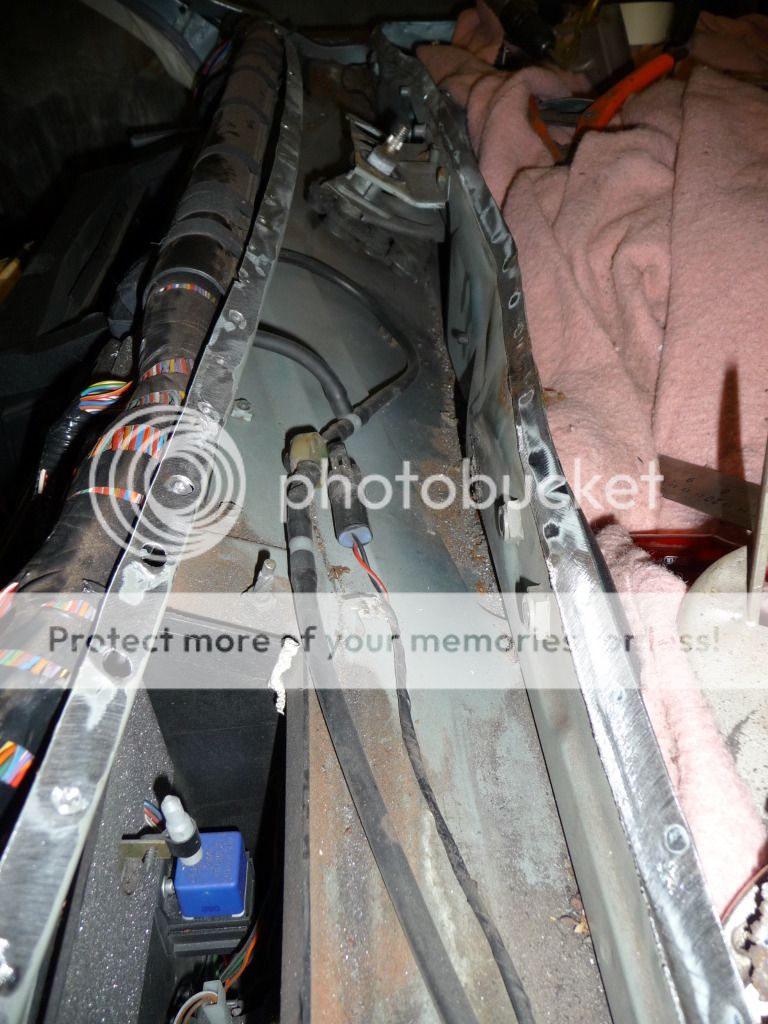
Gray then ground down the welds in preparation for the next layer:

Image

And zinc sprayed again:

Image

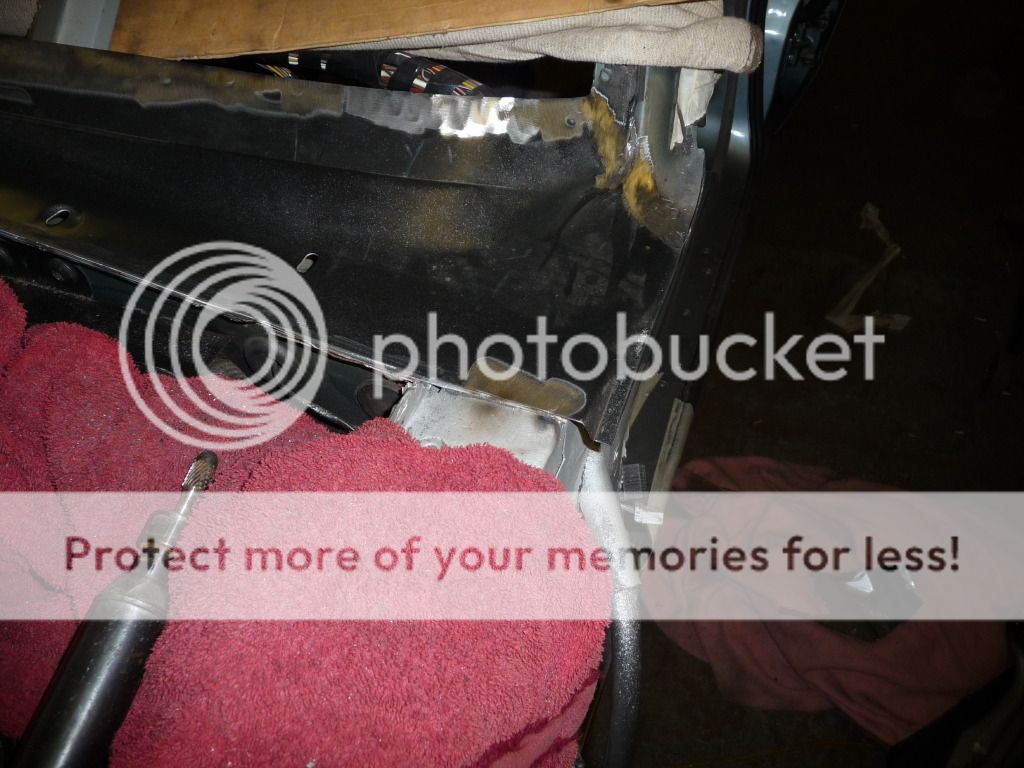
Then the final layer is the plenum top. This was fitted after the centre of the bulkhead had been replaced.

Image

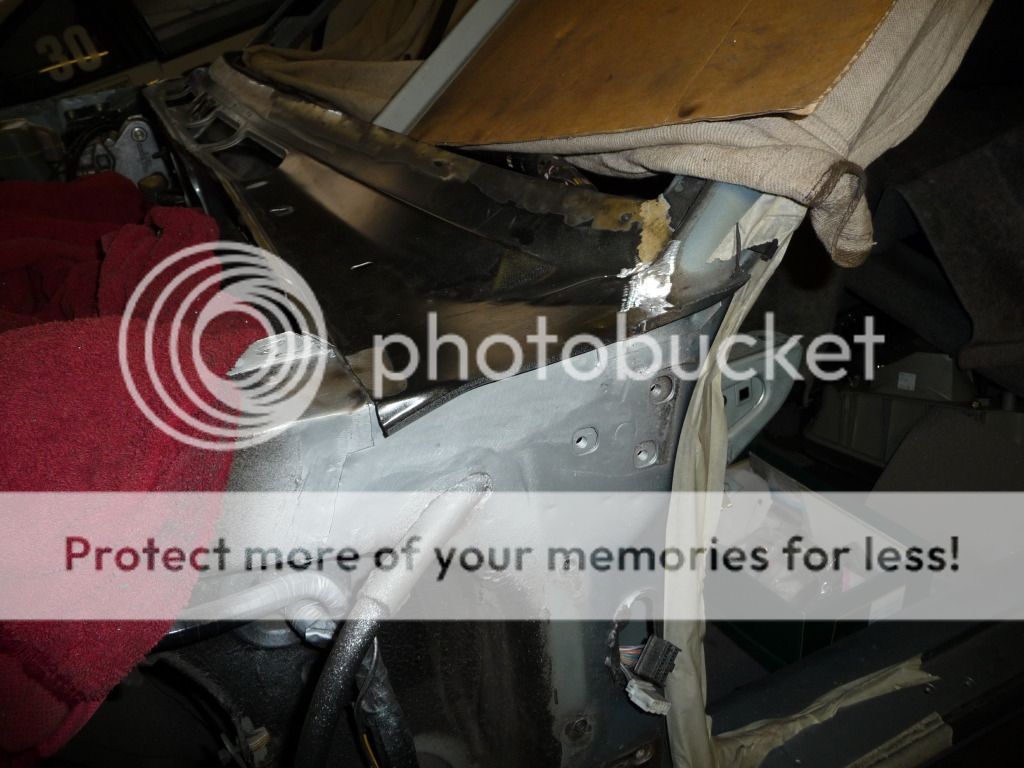
Gray carried out the same work on the left side. If anything, the rust was probably worse on this side

Image
Image

Image

Image

Image

Image

Image

Image

Here you can see how the rust coloured staining is dust.

Image

Image

Image

Image

Image

Image

Final layer is again the plenum top. as before, the plenum top piece was added after the centre section of the bulkhead had been replaced.

Image

Image


Workshop manager, Kromer the cat :D

Image

Kromer inspecting Gray's work - is it up to scratch?? :D

Image

Image

Re: Jaguar Sovereign rust and restoration - lots of welding!

Posted: Mon May 28, 2012 8:14 pm
by J44EAG
Thanks for sharing that with us.

Shades of my car restoration days. I don`t miss rust in my ears, sparks down me shirt front or blue painted hair!

Have to say, corrosion panel bashing is not one of the nicest of occupations.

Mike

Re: Jaguar Sovereign rust and restoration - lots of welding!

Posted: Mon May 28, 2012 11:07 pm
by Vonredbeard
How common is this sort of rust in X300's?

Re: Jaguar Sovereign rust and restoration - lots of welding!

Posted: Tue May 29, 2012 8:24 am
by robv12
pretty common!!

Re: Jaguar Sovereign rust and restoration - lots of welding!

Posted: Tue May 29, 2012 6:26 pm
by db40
Thanks for sharing that with us.

Shades of my car restoration days. I don`t miss rust in my ears, sparks down me shirt front or blue painted hair!

Have to say, corrosion panel bashing is not one of the nicest of occupations.

Mike
It's hard work all right, can be dirty too. There must be a genuine feeling of satisfaction from doing it well though.

David

Re: Jaguar Sovereign rust and restoration - lots of welding!

Posted: Tue May 29, 2012 6:29 pm
by db40
How common is this sort of rust in X300's?
It is common both on late XJ40s and X300s, but (to me anyway) doesn't seem to affect the earlier battery under the bonnet XJ40s quite so much as the late cars.

Of course, by no means all cars will be rusty there. :)

David

Re: Jaguar Sovereign rust and restoration - lots of welding!

Posted: Tue May 29, 2012 6:50 pm
by db40
Bulkhead rust is the undoing of many a late XJ40 – even otherwise good cars can be rotted so badly here that they are scrapped.

The bulkhead wasn’t bad on my car, mainly having rust in a central part near the earth point. I first noticed a small blister here in about 1998, but is has developed at a very slow rate probably because the plenum has been kept clear of water – it used to slosh about sometimes back then!

Thankfully, the inner bulkhead wasn’t rusty so only needed to be cleaned up a bit. Rust through the inner bulkhead complicates the job considerably because of the huge array of internal parts which need to be removed in order to get to its inner face. The whole climate control system needs to come out which involves removing both the heater matrix and air conditioning evaporator along with all their allied pipes and electronics need to come out. I was very glad my car didn’t need this!!

The right hand side of the bulkhead is rust free:
Image

As is the left: late XJ40s can have really horrible rust here – it is always a place to check for rust on any battery in boot ’40.

Image

The bulkhead rust blister is visible here. I first noticed rust here in the late 1990s – it has developed very slowly since.

Image

Bulkhead marked out and ready for cutting - the plenum top has already been removed in order for the inner wings to be repaired:

Image

Cut!! :D

Image

Image

Luckily the inner bulkhead was in excellent shape with very little rust and only needed cleaning up. Had this been corroded the job would have grown considerably.

Image

Repair section cut from a genuine Jaguar XJ40 bulkhead repair panel (JLM20631) I was lucky to find. I bought mine from Jaguar but unfortunately they are now unavailable from JDHT. The part radically reduces the amount of work needed to repair the bulkhead and is likely increase its accuracy for most people. I recommend anyone doing this repair to use the panel, if they can find it. XJ restorations bought the last few - I don't know if they still have them in stock.

Image

Welded in:

Image

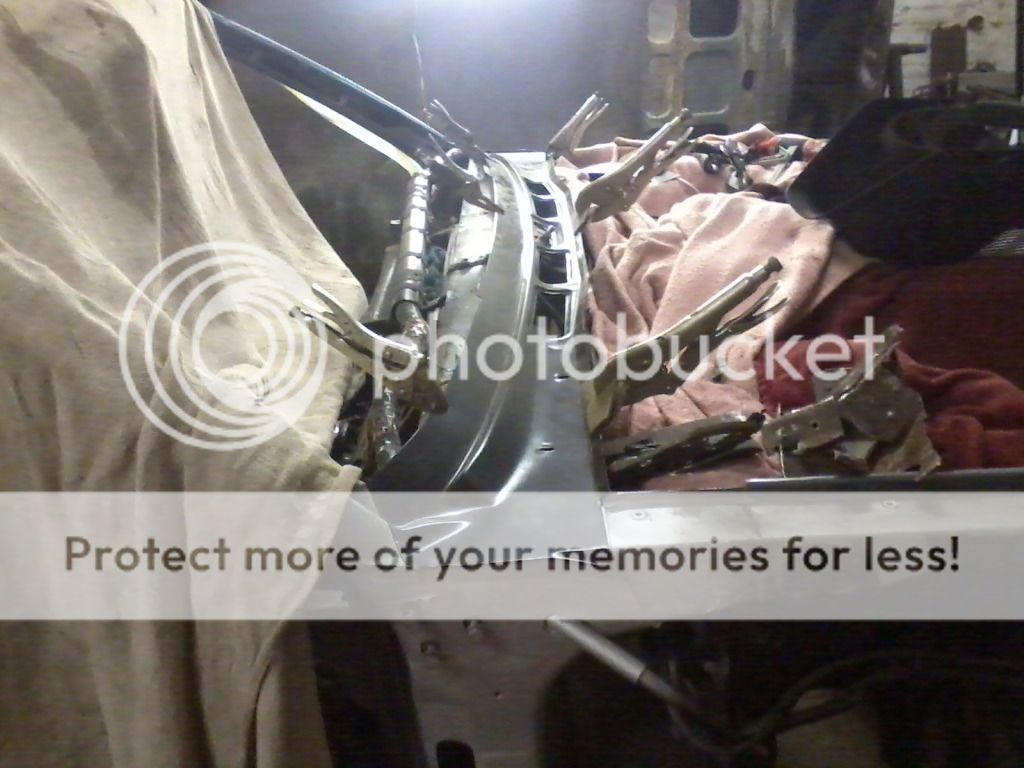
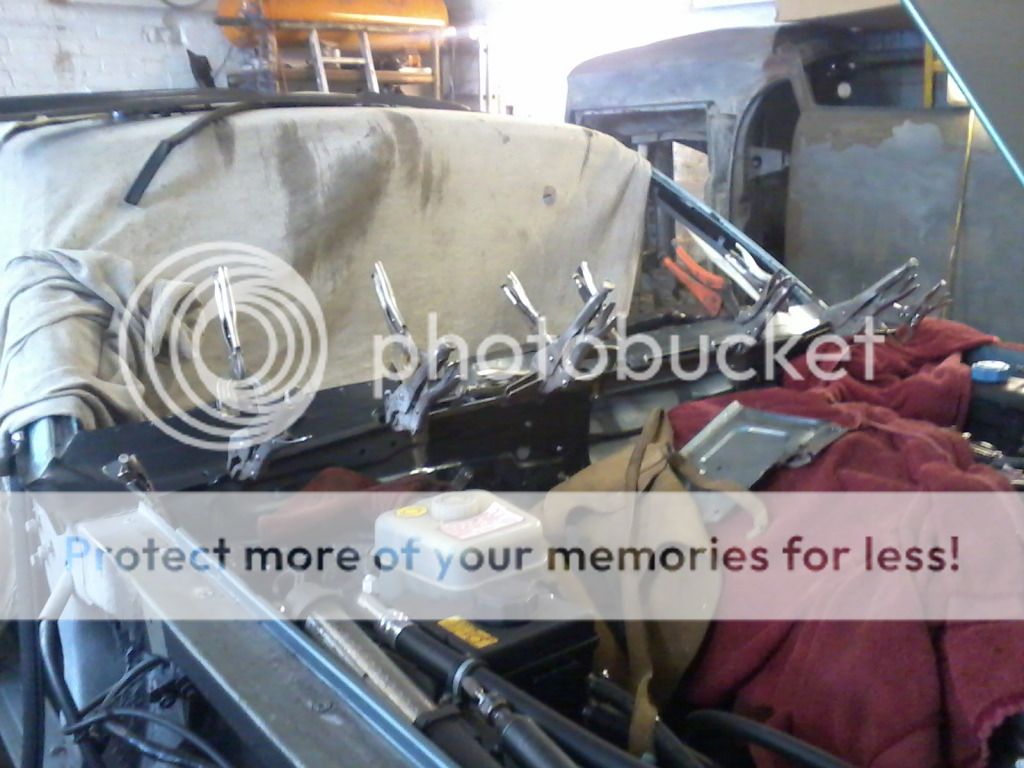
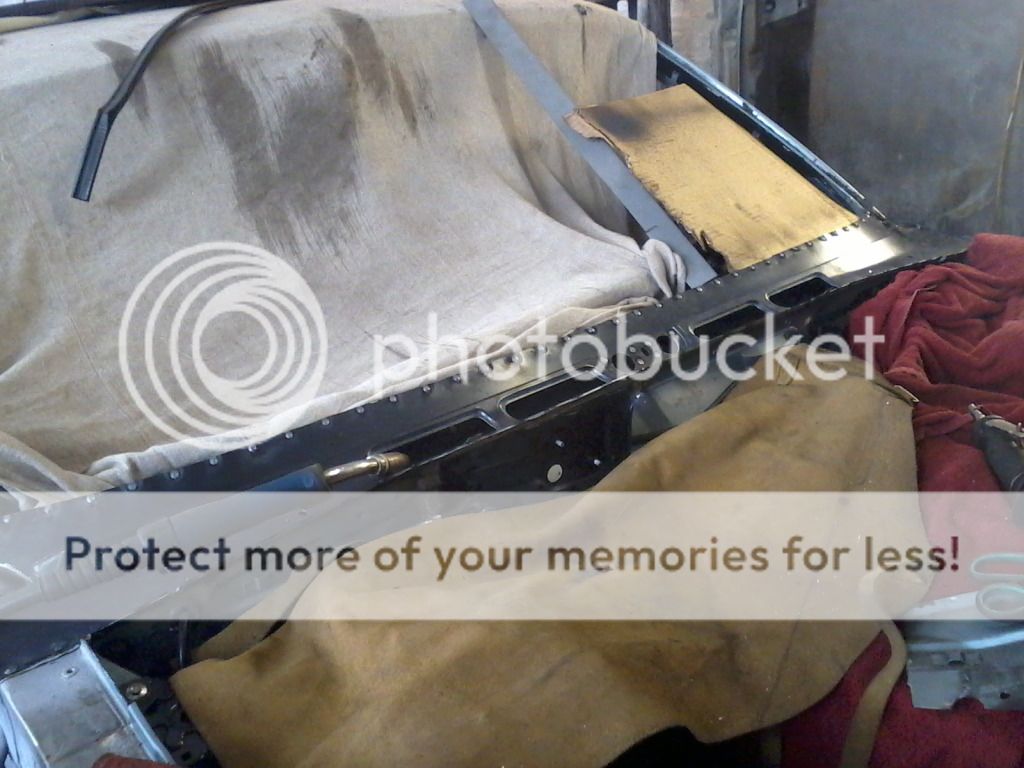
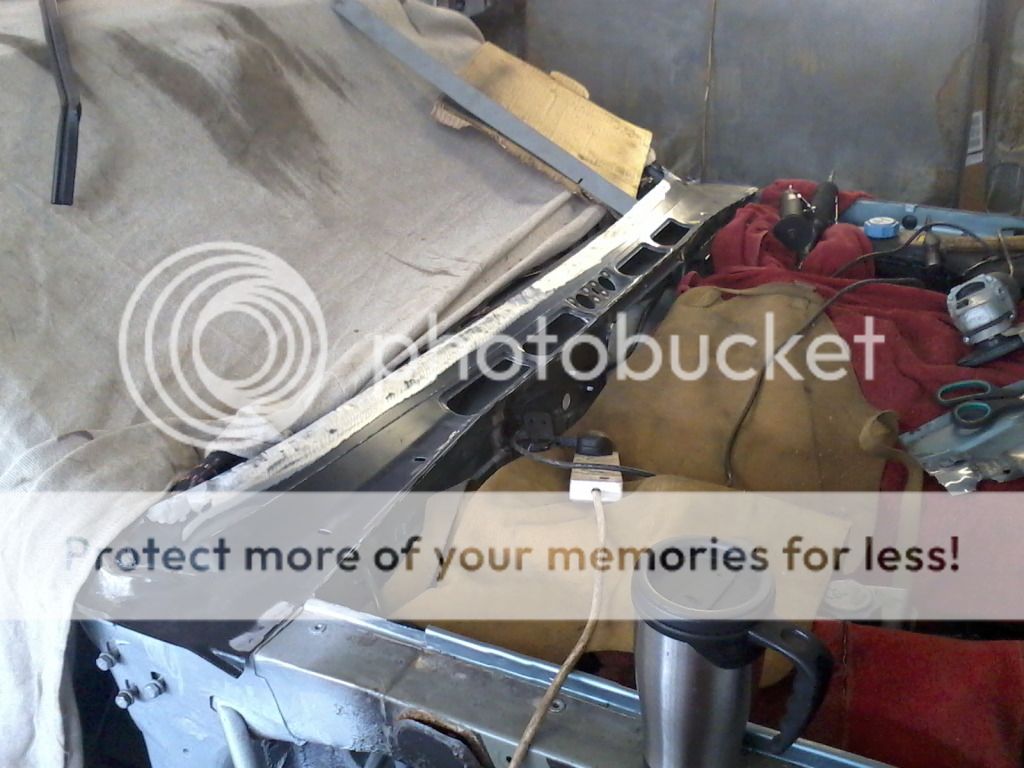
Another Jaguar part was used for the plenum top repair section, cut from a ‘Windscreen panel’ FNA1114BC - part 3 in the diagram. This is actually an X300/X308 part, used since the XJ40 one is no longer available. Jaguar list it as a supersession part however and it is identical.

Image

Very accurate cutting saw it fit perfectly:

Image

Image

Image

Image

Image

Spot welded in:

Image

Image

Image

Then the welds ground off:

Image

Image

Re: Jaguar Sovereign rust and restoration - lots of welding!

Posted: Tue May 29, 2012 7:22 pm
by XjRestorations
Some very nice work there David - thank you for the pictures!
We may have a few bulkhead panles left :wink:

Keep the pictures coming,
Keith

Re: Jaguar Sovereign rust and restoration - lots of welding!

Posted: Tue May 29, 2012 11:24 pm
by Vonredbeard
Does the plenum chamber have drain holes to prevent water and condensate collecting there, leading to the rust? If so, where are they please? If not, is it possible to create some?

Re: Jaguar Sovereign rust and restoration - lots of welding!

Posted: Wed May 30, 2012 3:04 pm
by db40
Some very nice work there David - thank you for the pictures!
We may have a few bulkhead panles left :wink:

Keep the pictures coming,
Keith

Gray's work is tremendously good and I'm very happy with the way the car is turning out.

I'm pleased to see you can still supply this panel - having it makes a big difference, particularly to time and cost!

David